
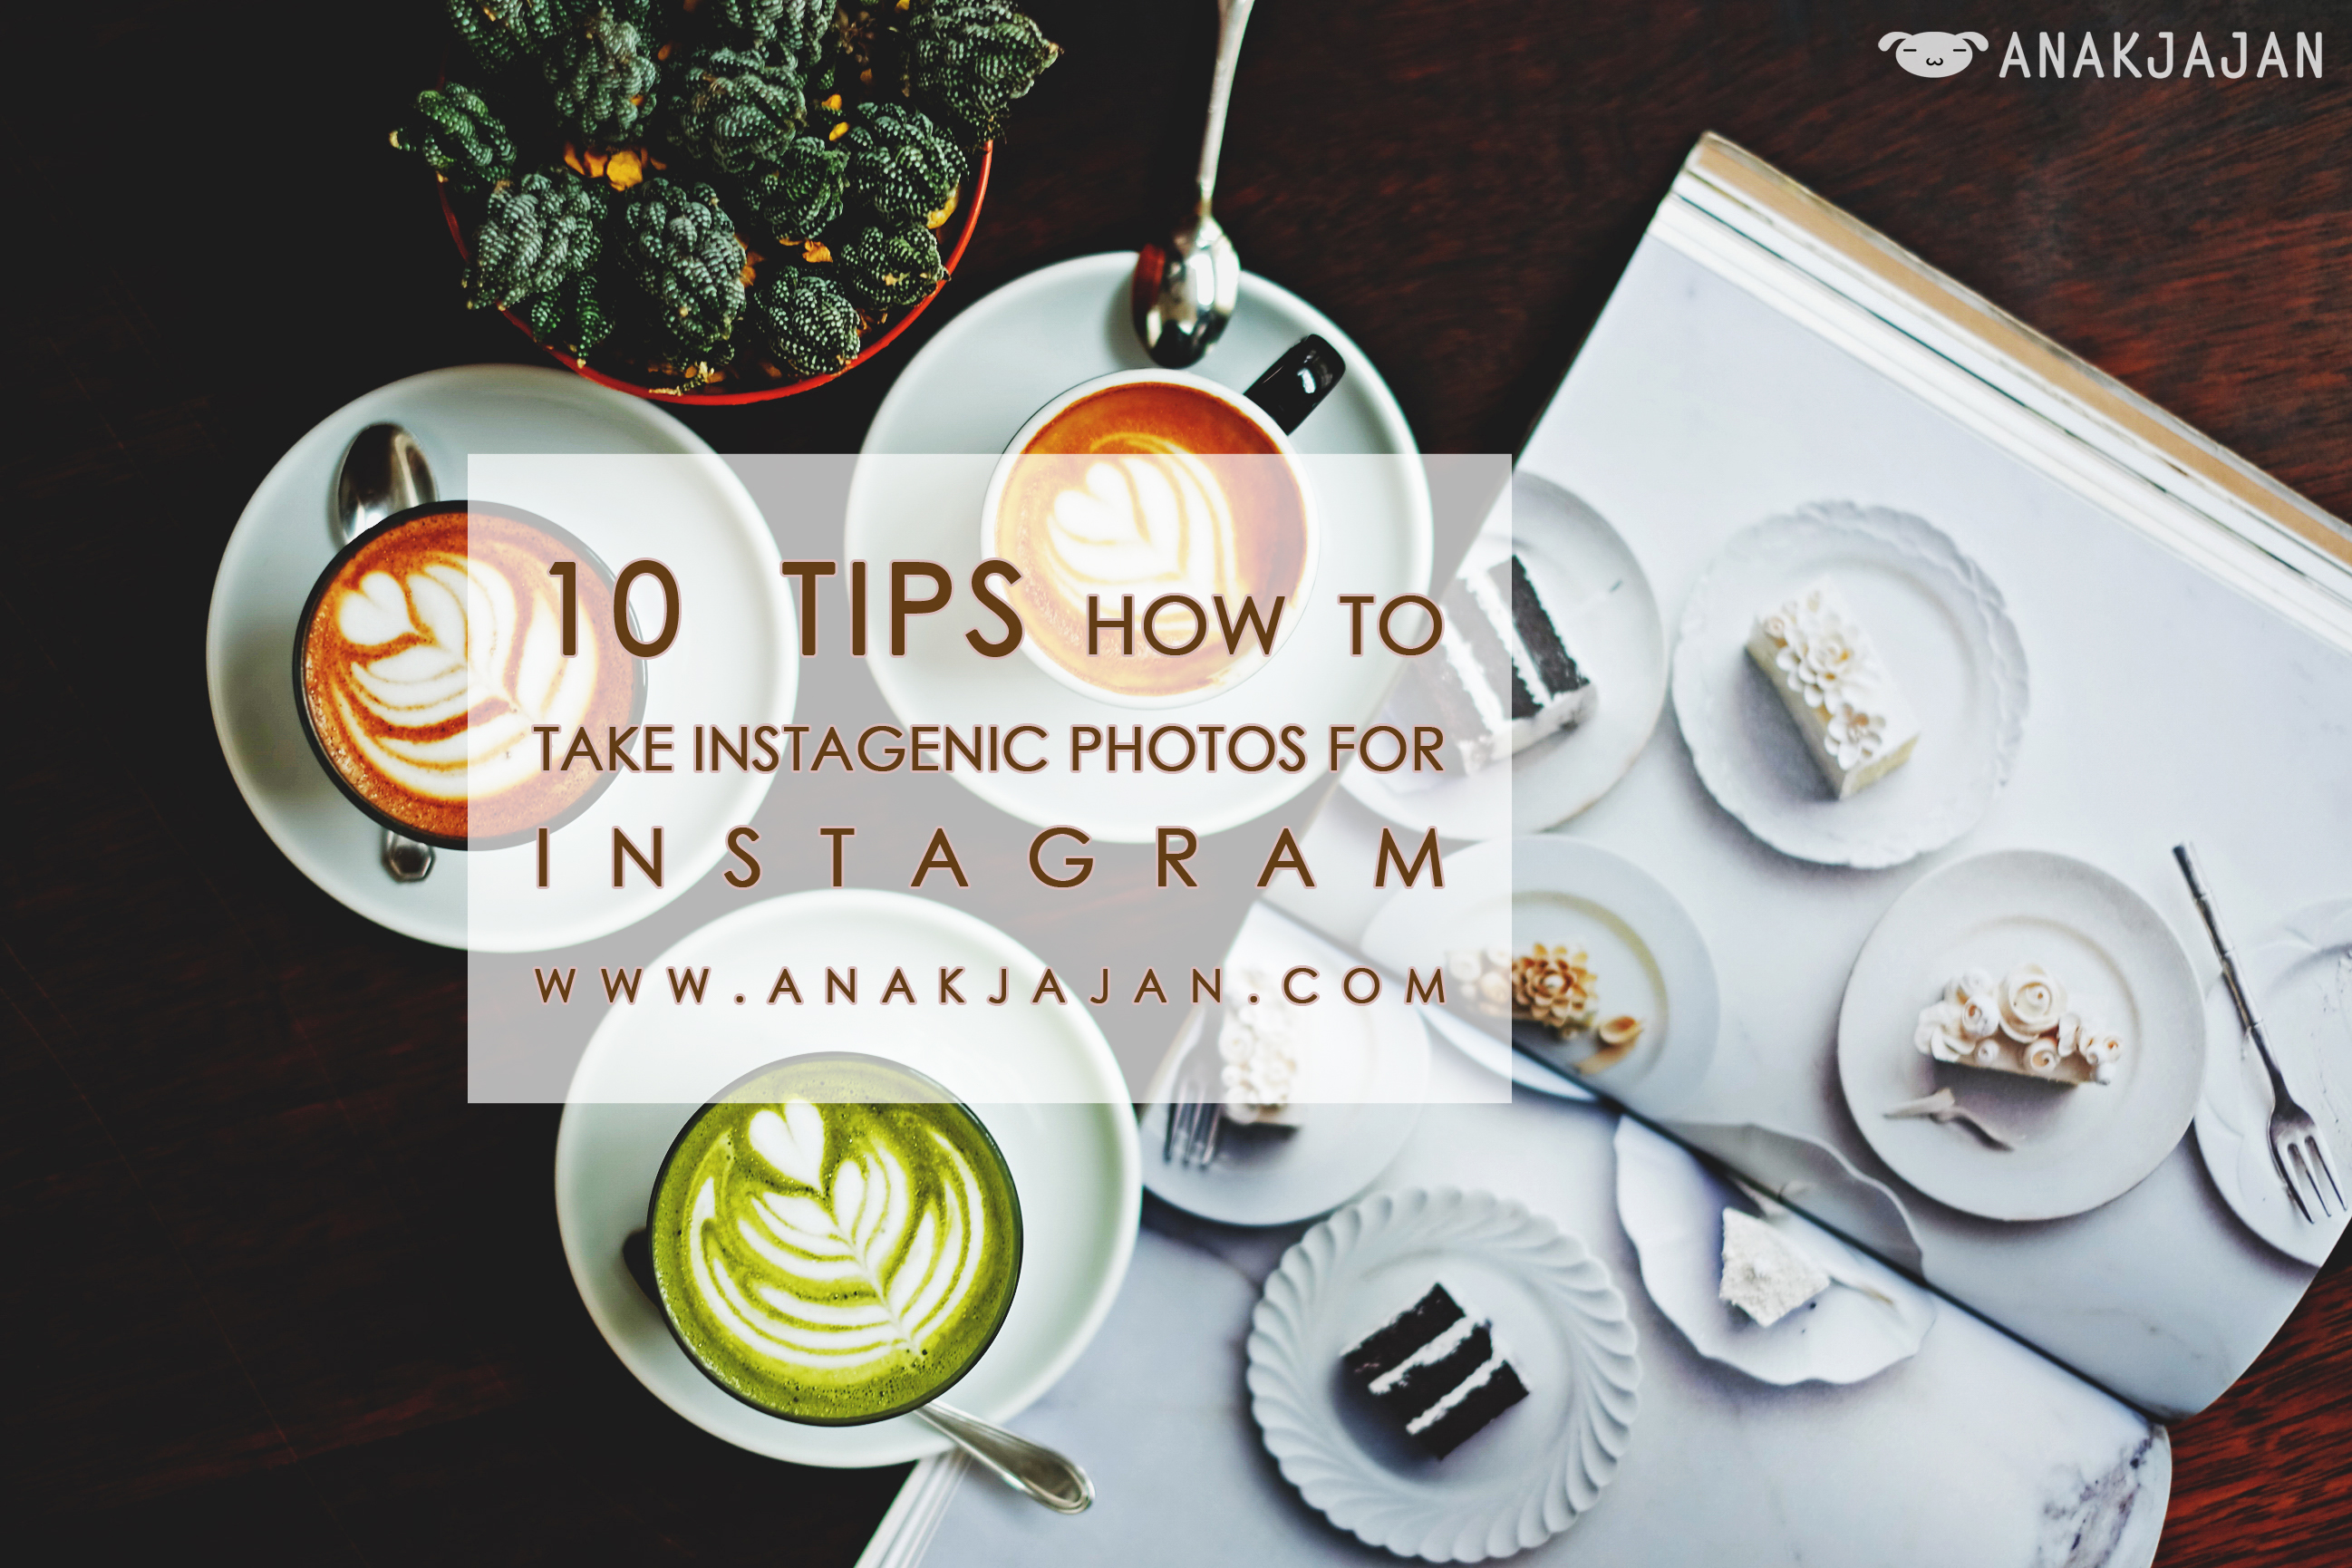
We are an instagram addict, how about you? Are you an instagram addict?? Here are some tips that we think can be useful for you to get an ‘instagenic’ photo for your instagram.
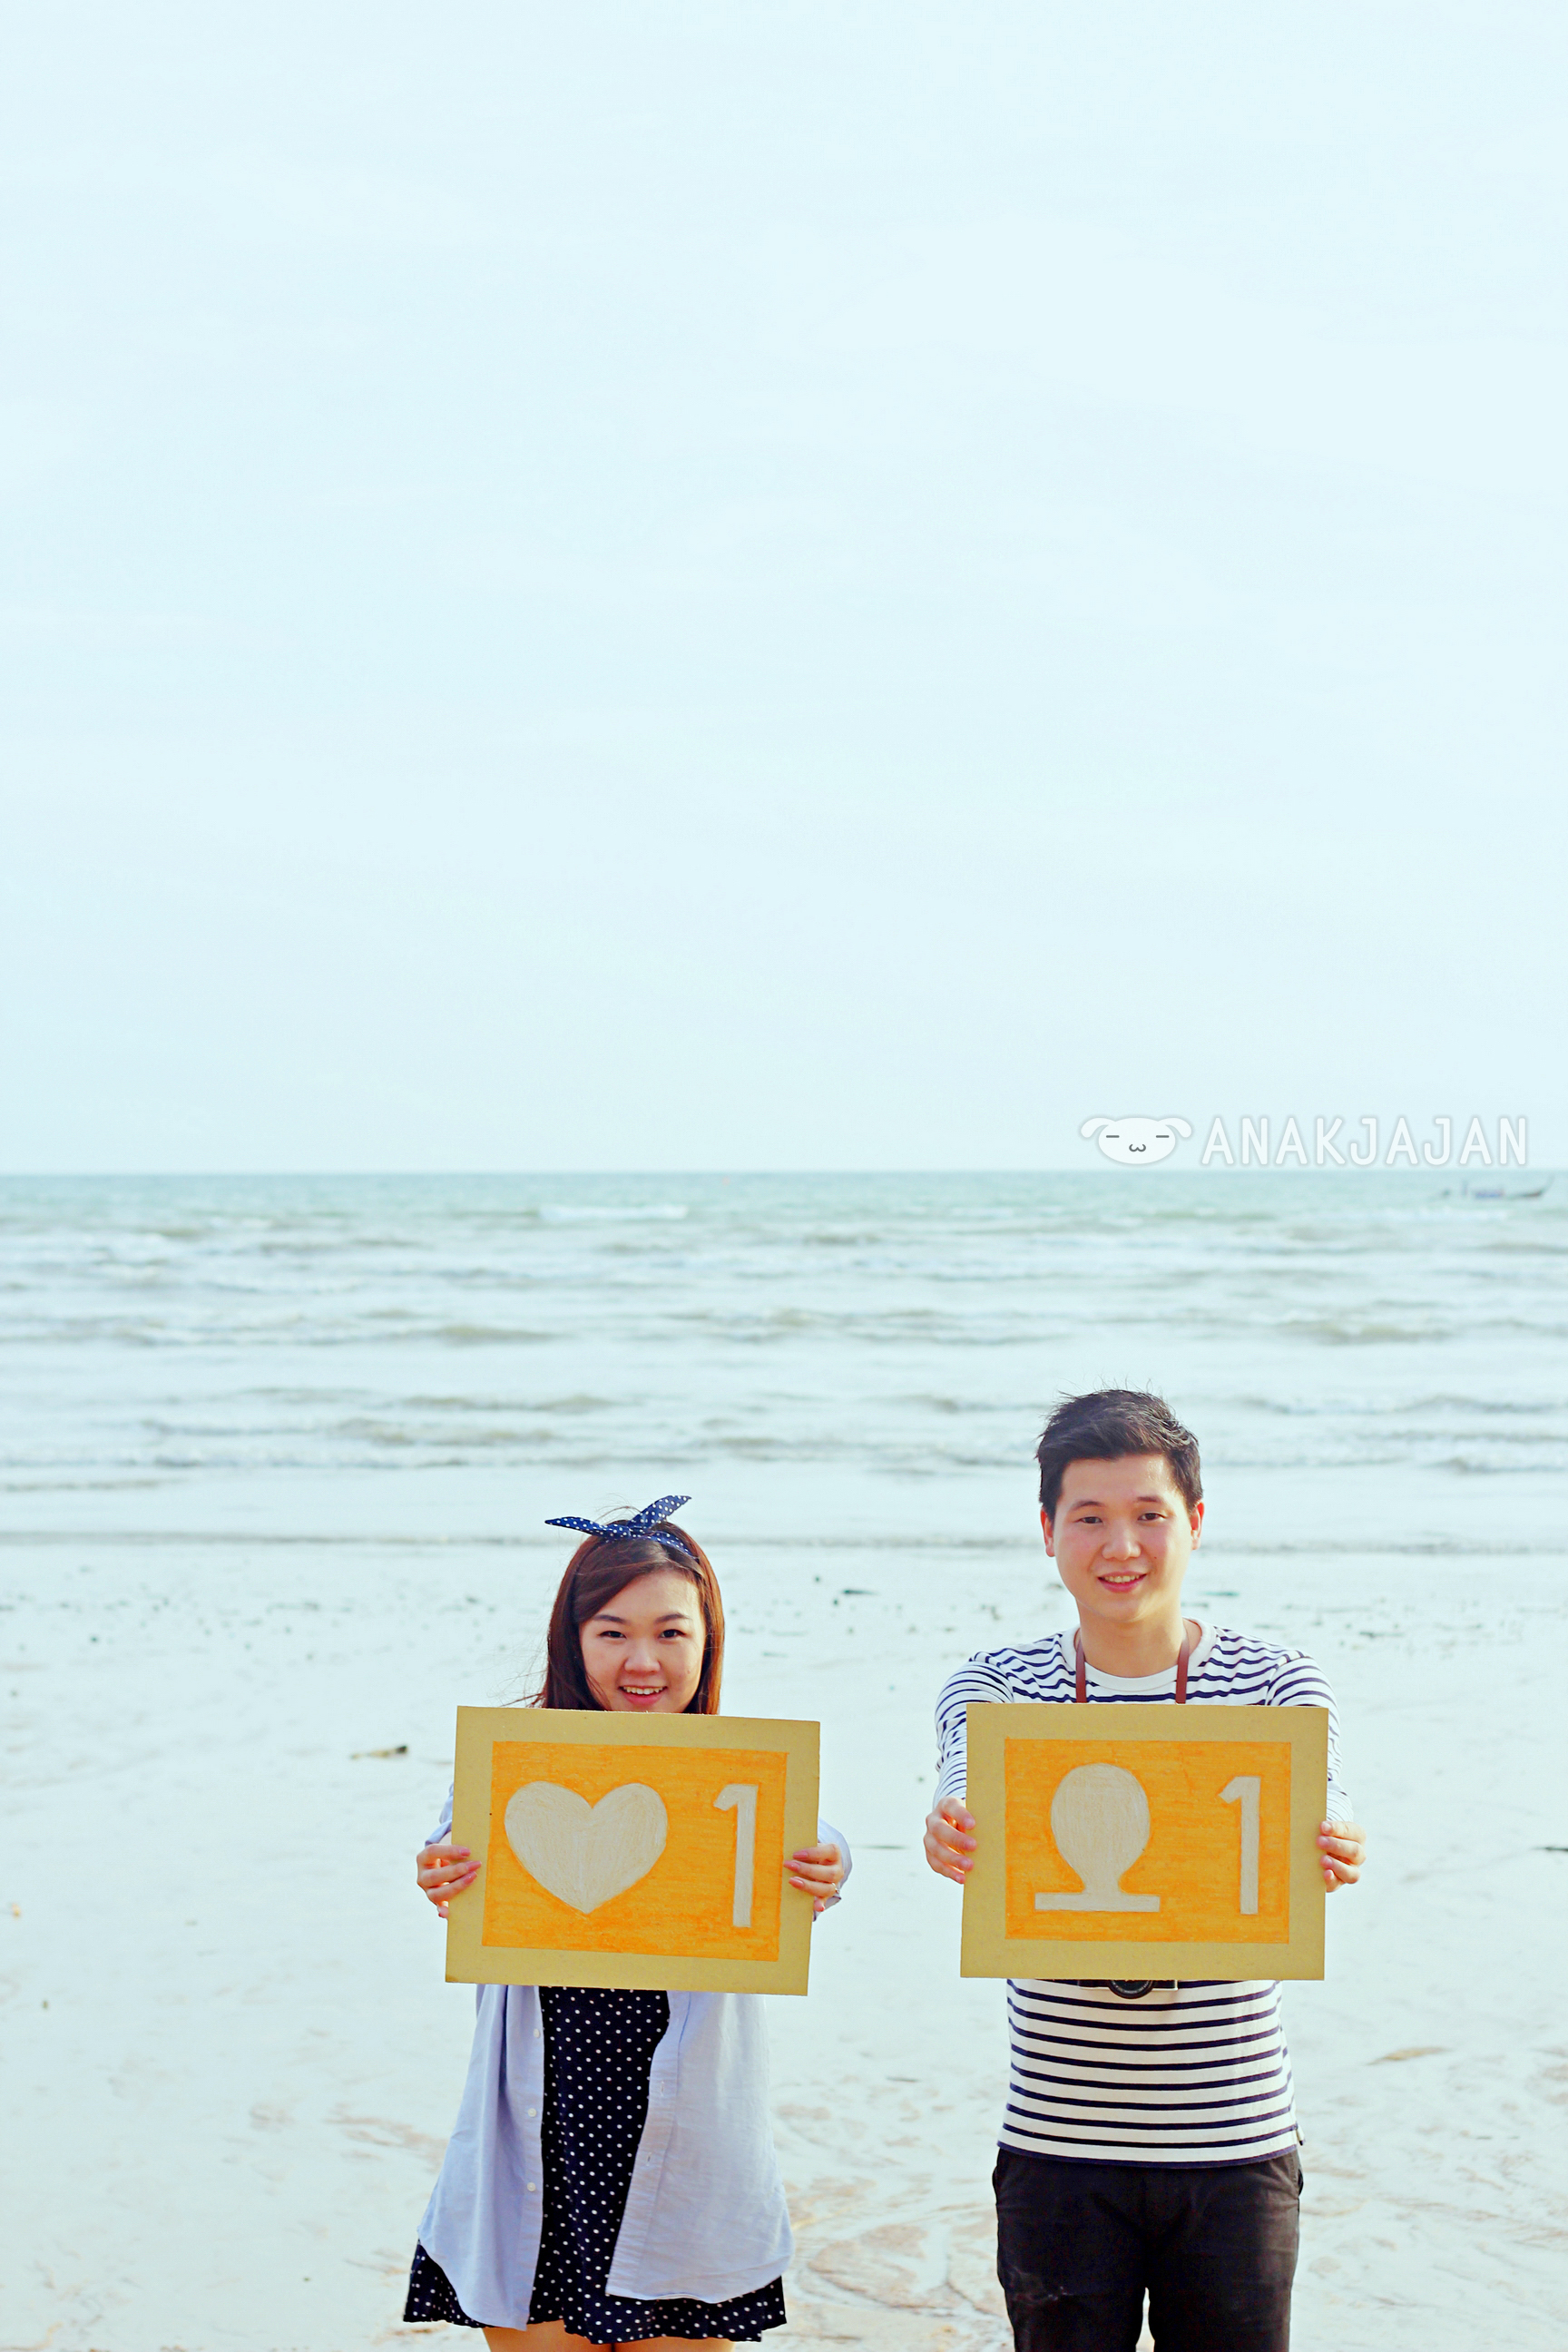
AnakJajan have created our instagram @ANAKJAJAN since long time ago, but we started to be more active and officially became instagram addict since 2013. The main reason of creating instagram is to use it as our ‘mini diary’ besides our blog. We still remember that last year in the end of 2013 our instagram followers only around 3-4k and now September 2014 we unexpectedly reach 30k followers. We are super thankful and glad to see many of you are interested with our instagram.

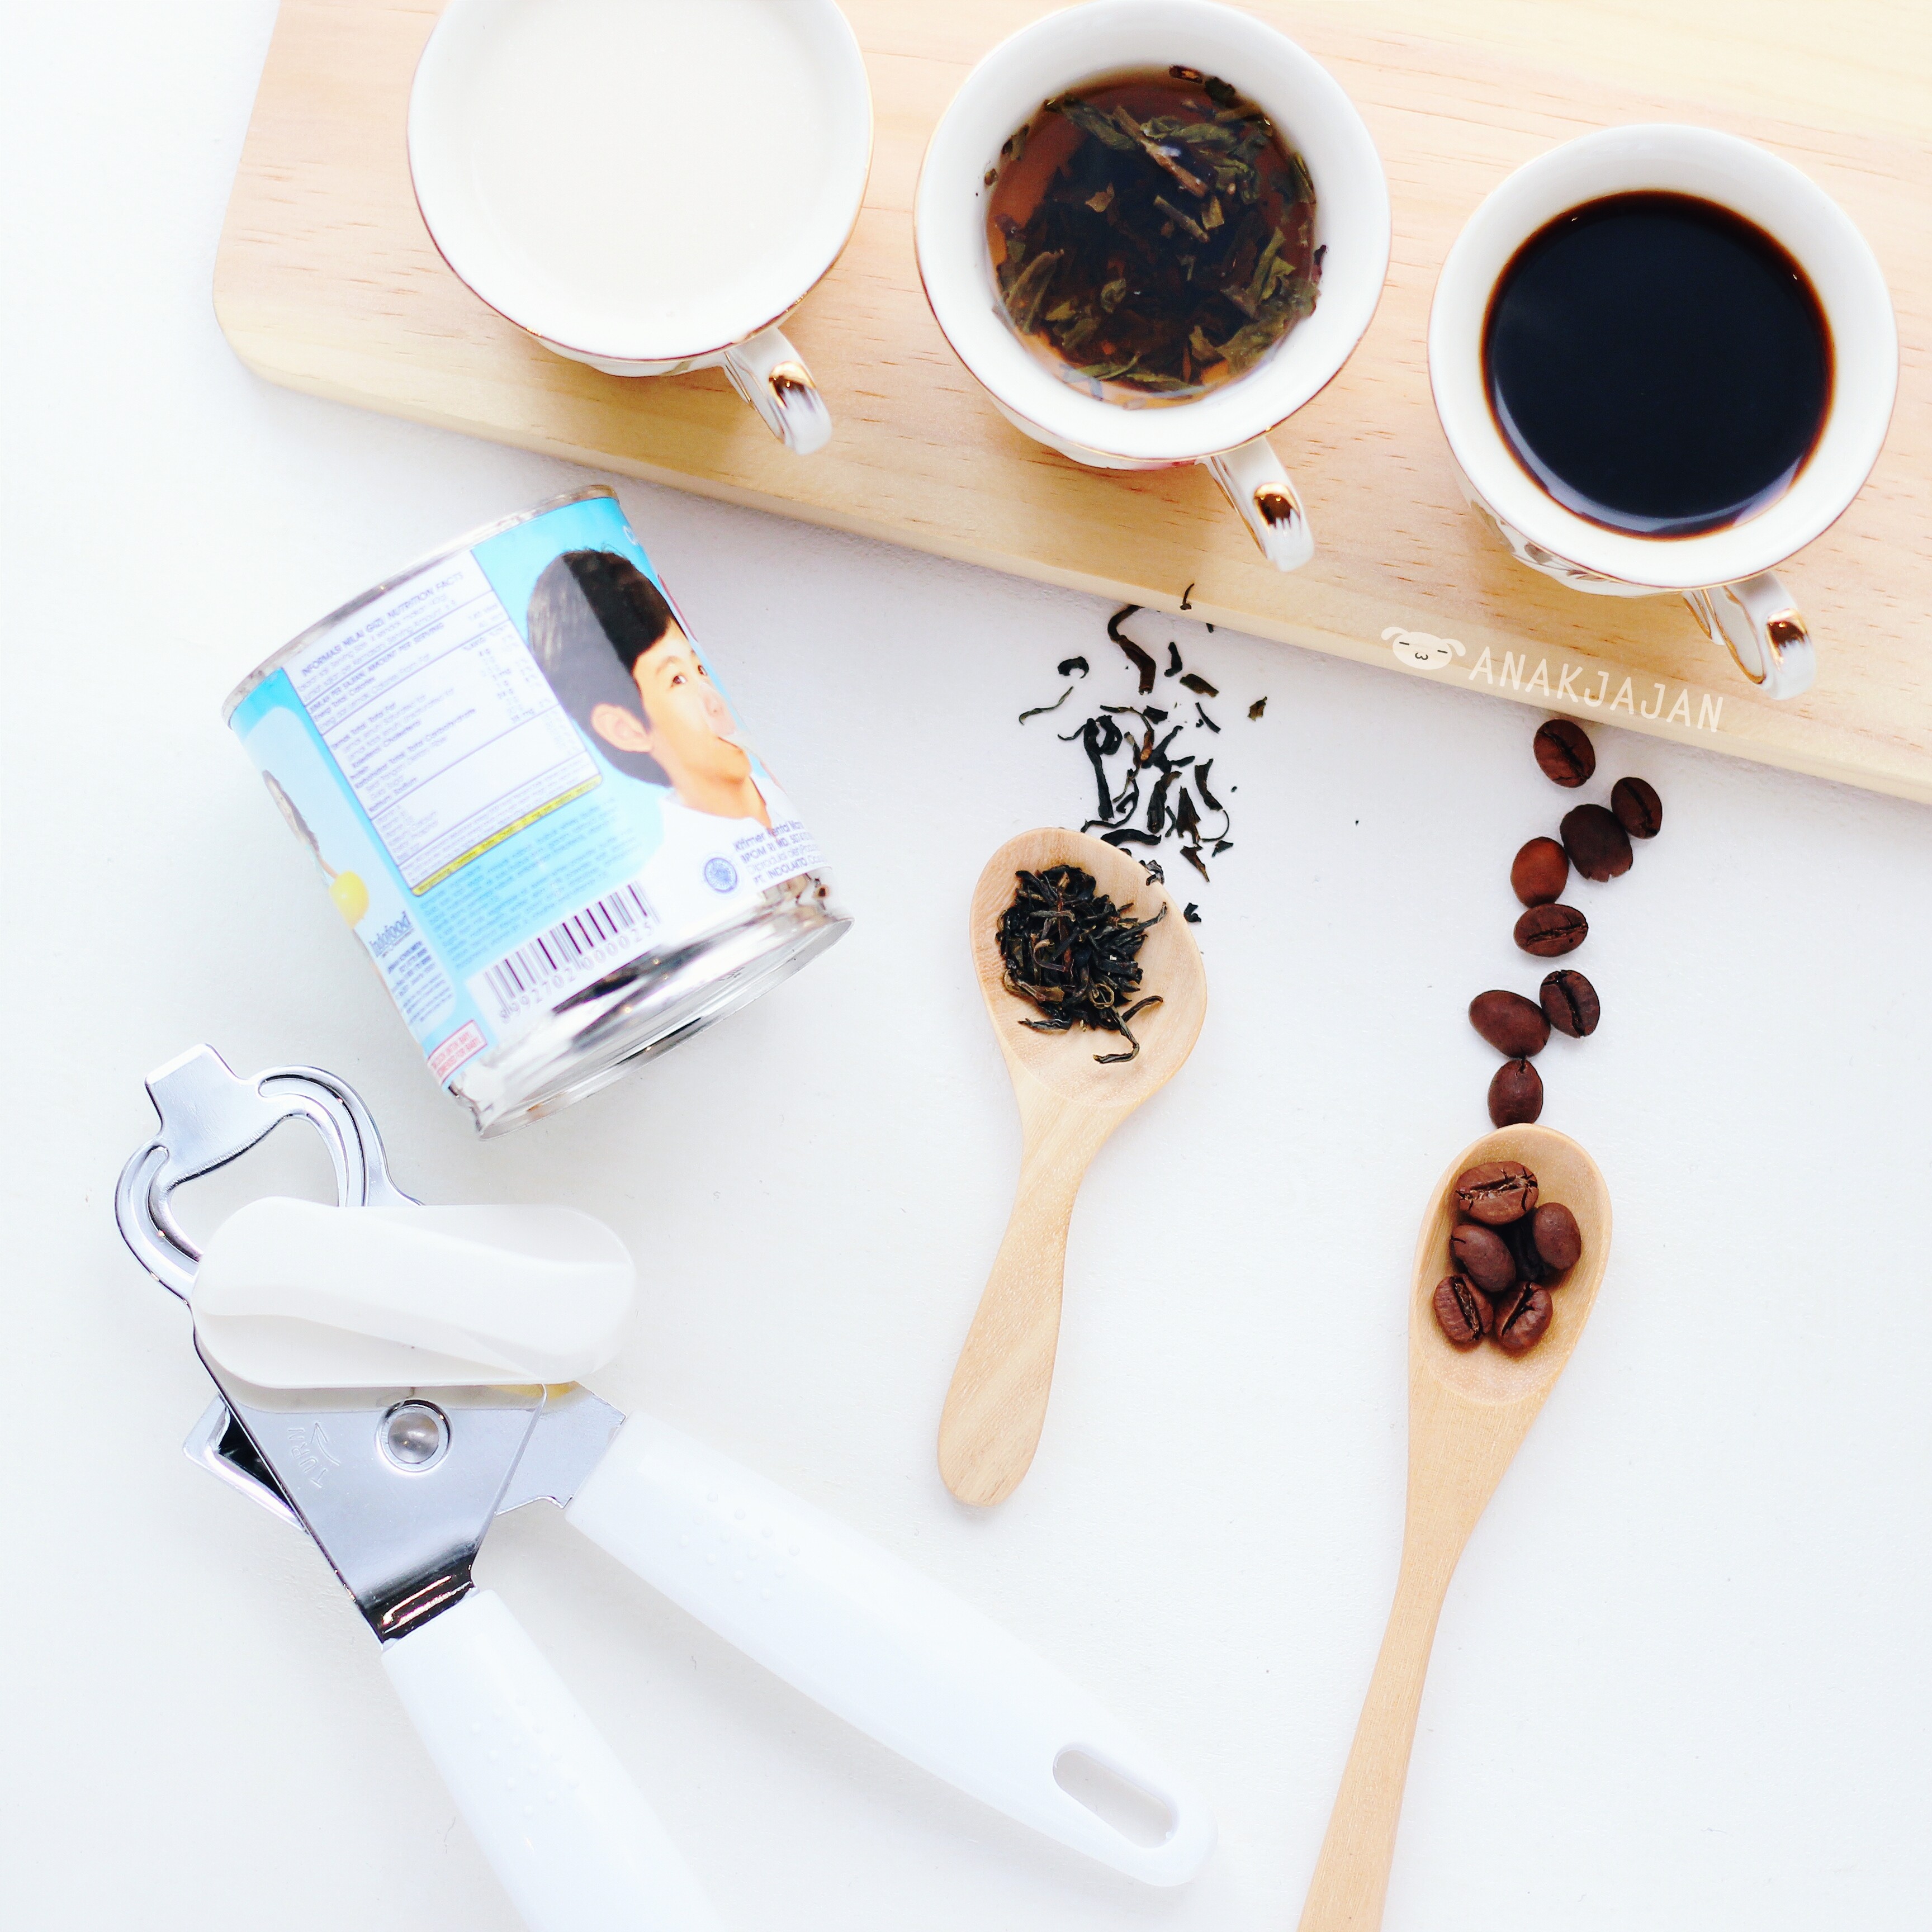
Lot’s of you have been asking us about what kind of gadget that we use to capture and edit our photos. Well at this moment we use 2 cameras, Canon 600D with fixed lens 50mm and Fujifilm X-M1 fixed lens 35mm and 27mm, as for the editing AnakJajan use VSCO & Snapseed via mobile phone and Photoshop via computer.

You have to realize one thing, having an expensive camera only does NOT make you a photographer and doesn’t guarantee it can produce a great photo. It depends on the camera owner’s knowledge, experience, taste and sense while taking the picture. Remember that there are lot’s of people out there producing cool and spectacular photos WITHOUT fancy camera 🙂 . For example if you notice on instagram there are a lot of popular instagram accounts that only use their phone camera.

We think that any one with any gadget has the potential to produce a great photo, but of course there are several basic things that you should pay attention to. We are not saying that our photos are spectacular or anything like that, but we think it’s pretty decent already so maybe if you are interested, here’s a list of 10 tips for you:

1. NATURAL LIGHT
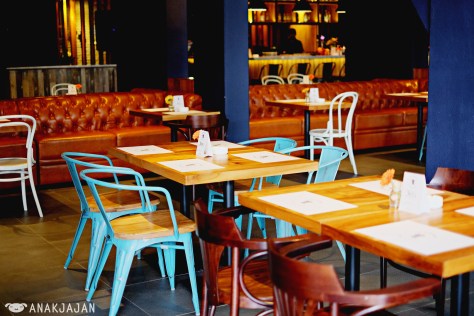
Natural light is your BEST FRIEND!! IMHO, photo with natural light is so much better than indoor lighting. It will give you an effortlessly pretty and natural result. So if you are going out somewhere for example a restaurant, find a table near WINDOW please (during daytime of course). We always choose table near window every time, in order to get natural light as much we can.


2. INDOOR LIGHT
A friend of mine once told me “Shoot your lunch, enjoy your dinner” basically because during night, it’s kinda hard to get a great photo especially when you are at a place with minimum light especially if you camera is not advance enough it will produce blurry photo with lot’s of noise.

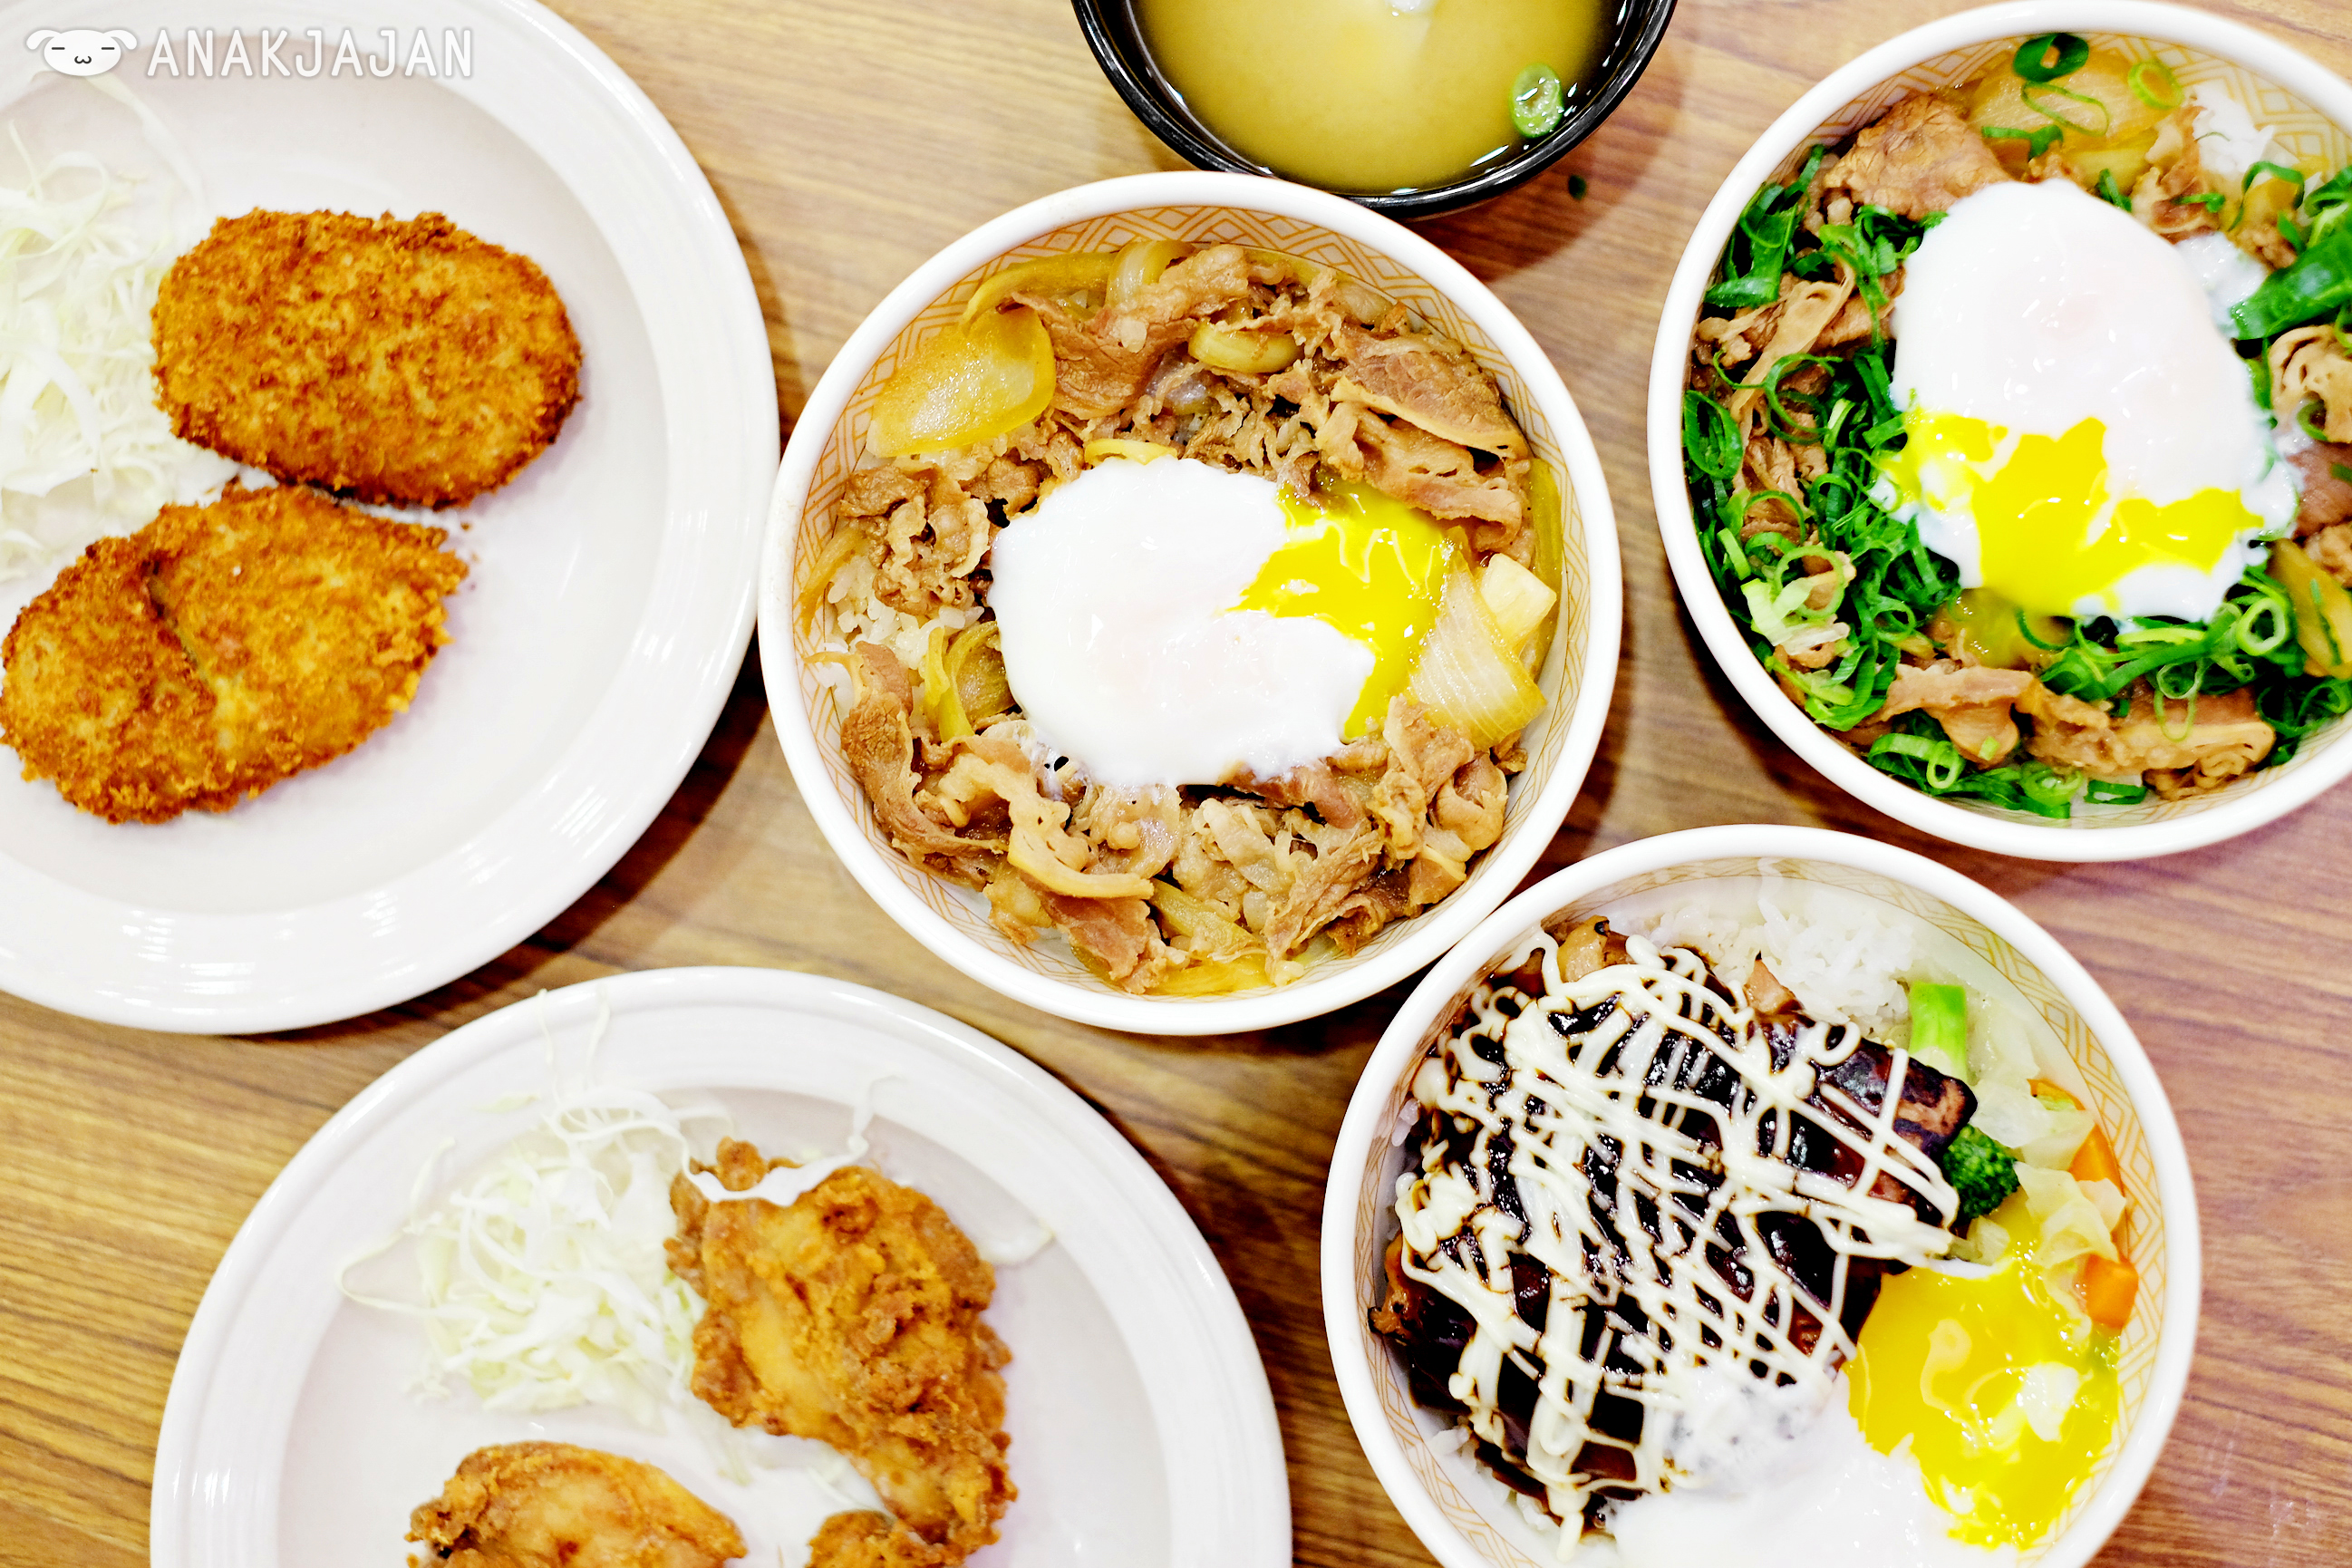
See the difference between above (indoor lighting) and below photos (natural lighting)?? Both photos are taken at Locanda restaurant but you can clearly see that the one with natural lighting looks so much better and appealing rite?
But if you have no choice, there are two simple things you should pay attention, first is to find a table with brighter light.
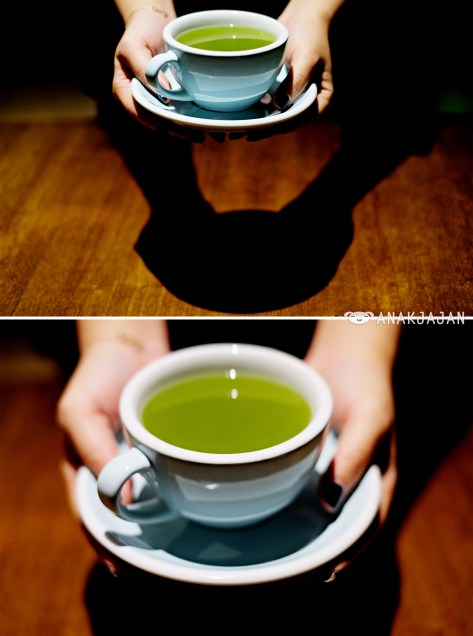
Just like photo above was taken under sufficient indoor lighting, still look pretty decent right?
Then second, if it is still way too dark you can ask you friend to use flashlight feature from his/her phone and point the flashlight to the object of photo, it will give you so much better result than using your own camera flash.

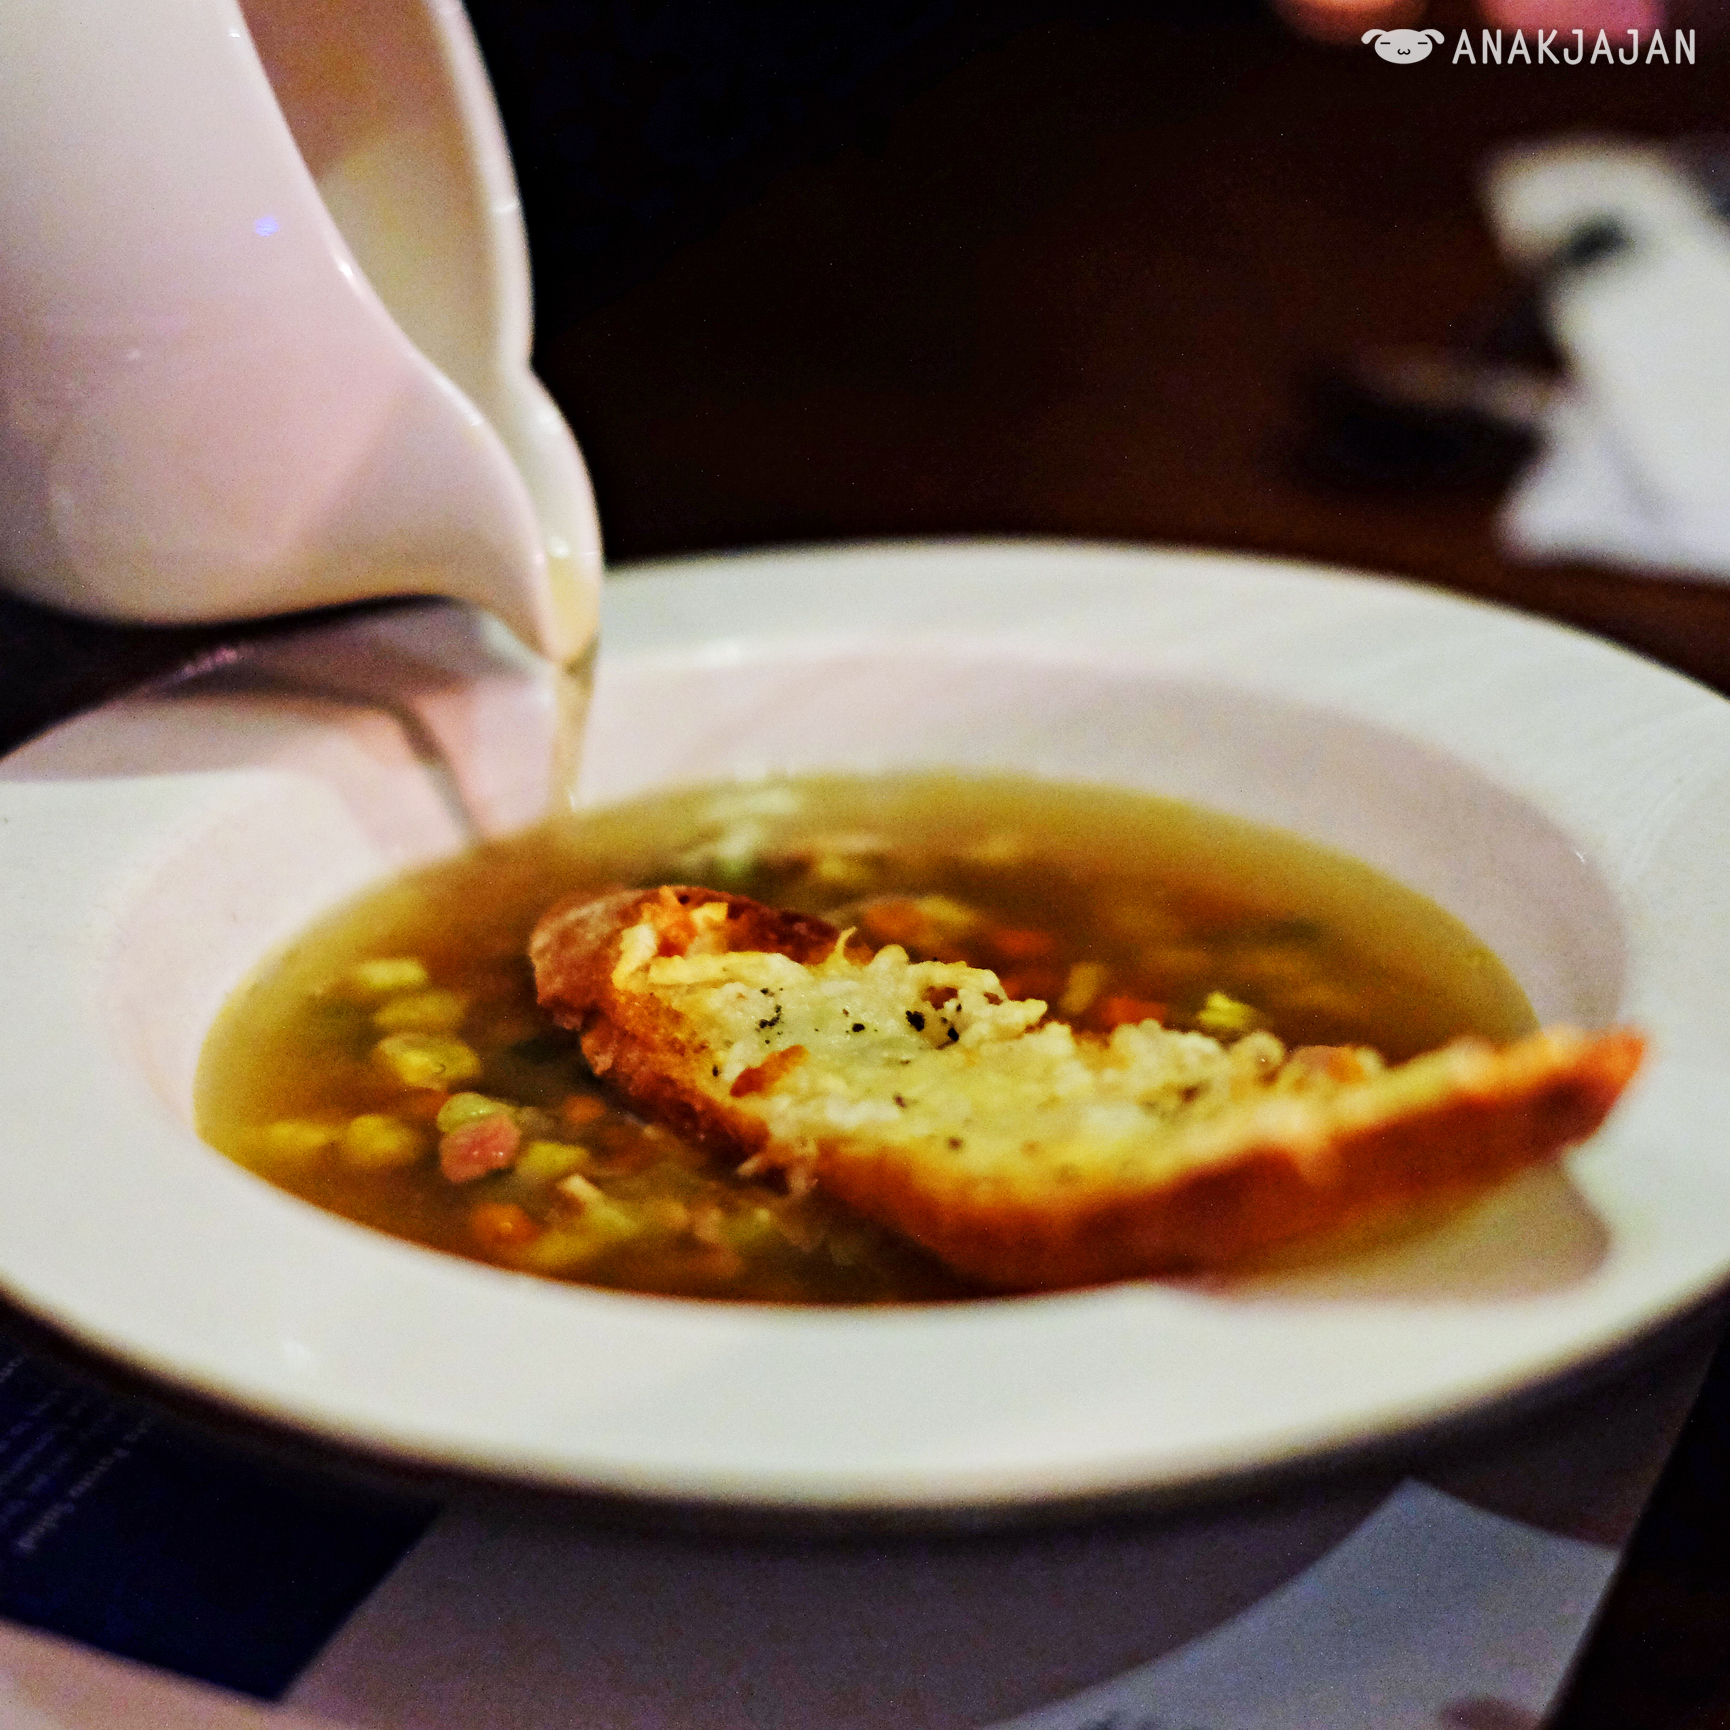
See the difference between photo above and below? It was taken at Potato Head restaurant with very poor and minimal lighting we had no choice but to use the help of flashlight from our phone. The photo above was taken with poor minimal lighting and even editing via photoshop doesn’t help much. While the photo below was taken with the help of flashlight, you can clearly see the details from the soup right?

3. REFLECTOR
Now you know you should choose table near window or table with the most natural light rite? But after that u’ll experience another problem, ‘One side too bright and one side too dark‘ photo. But don’t worry there is a solution for that problem.
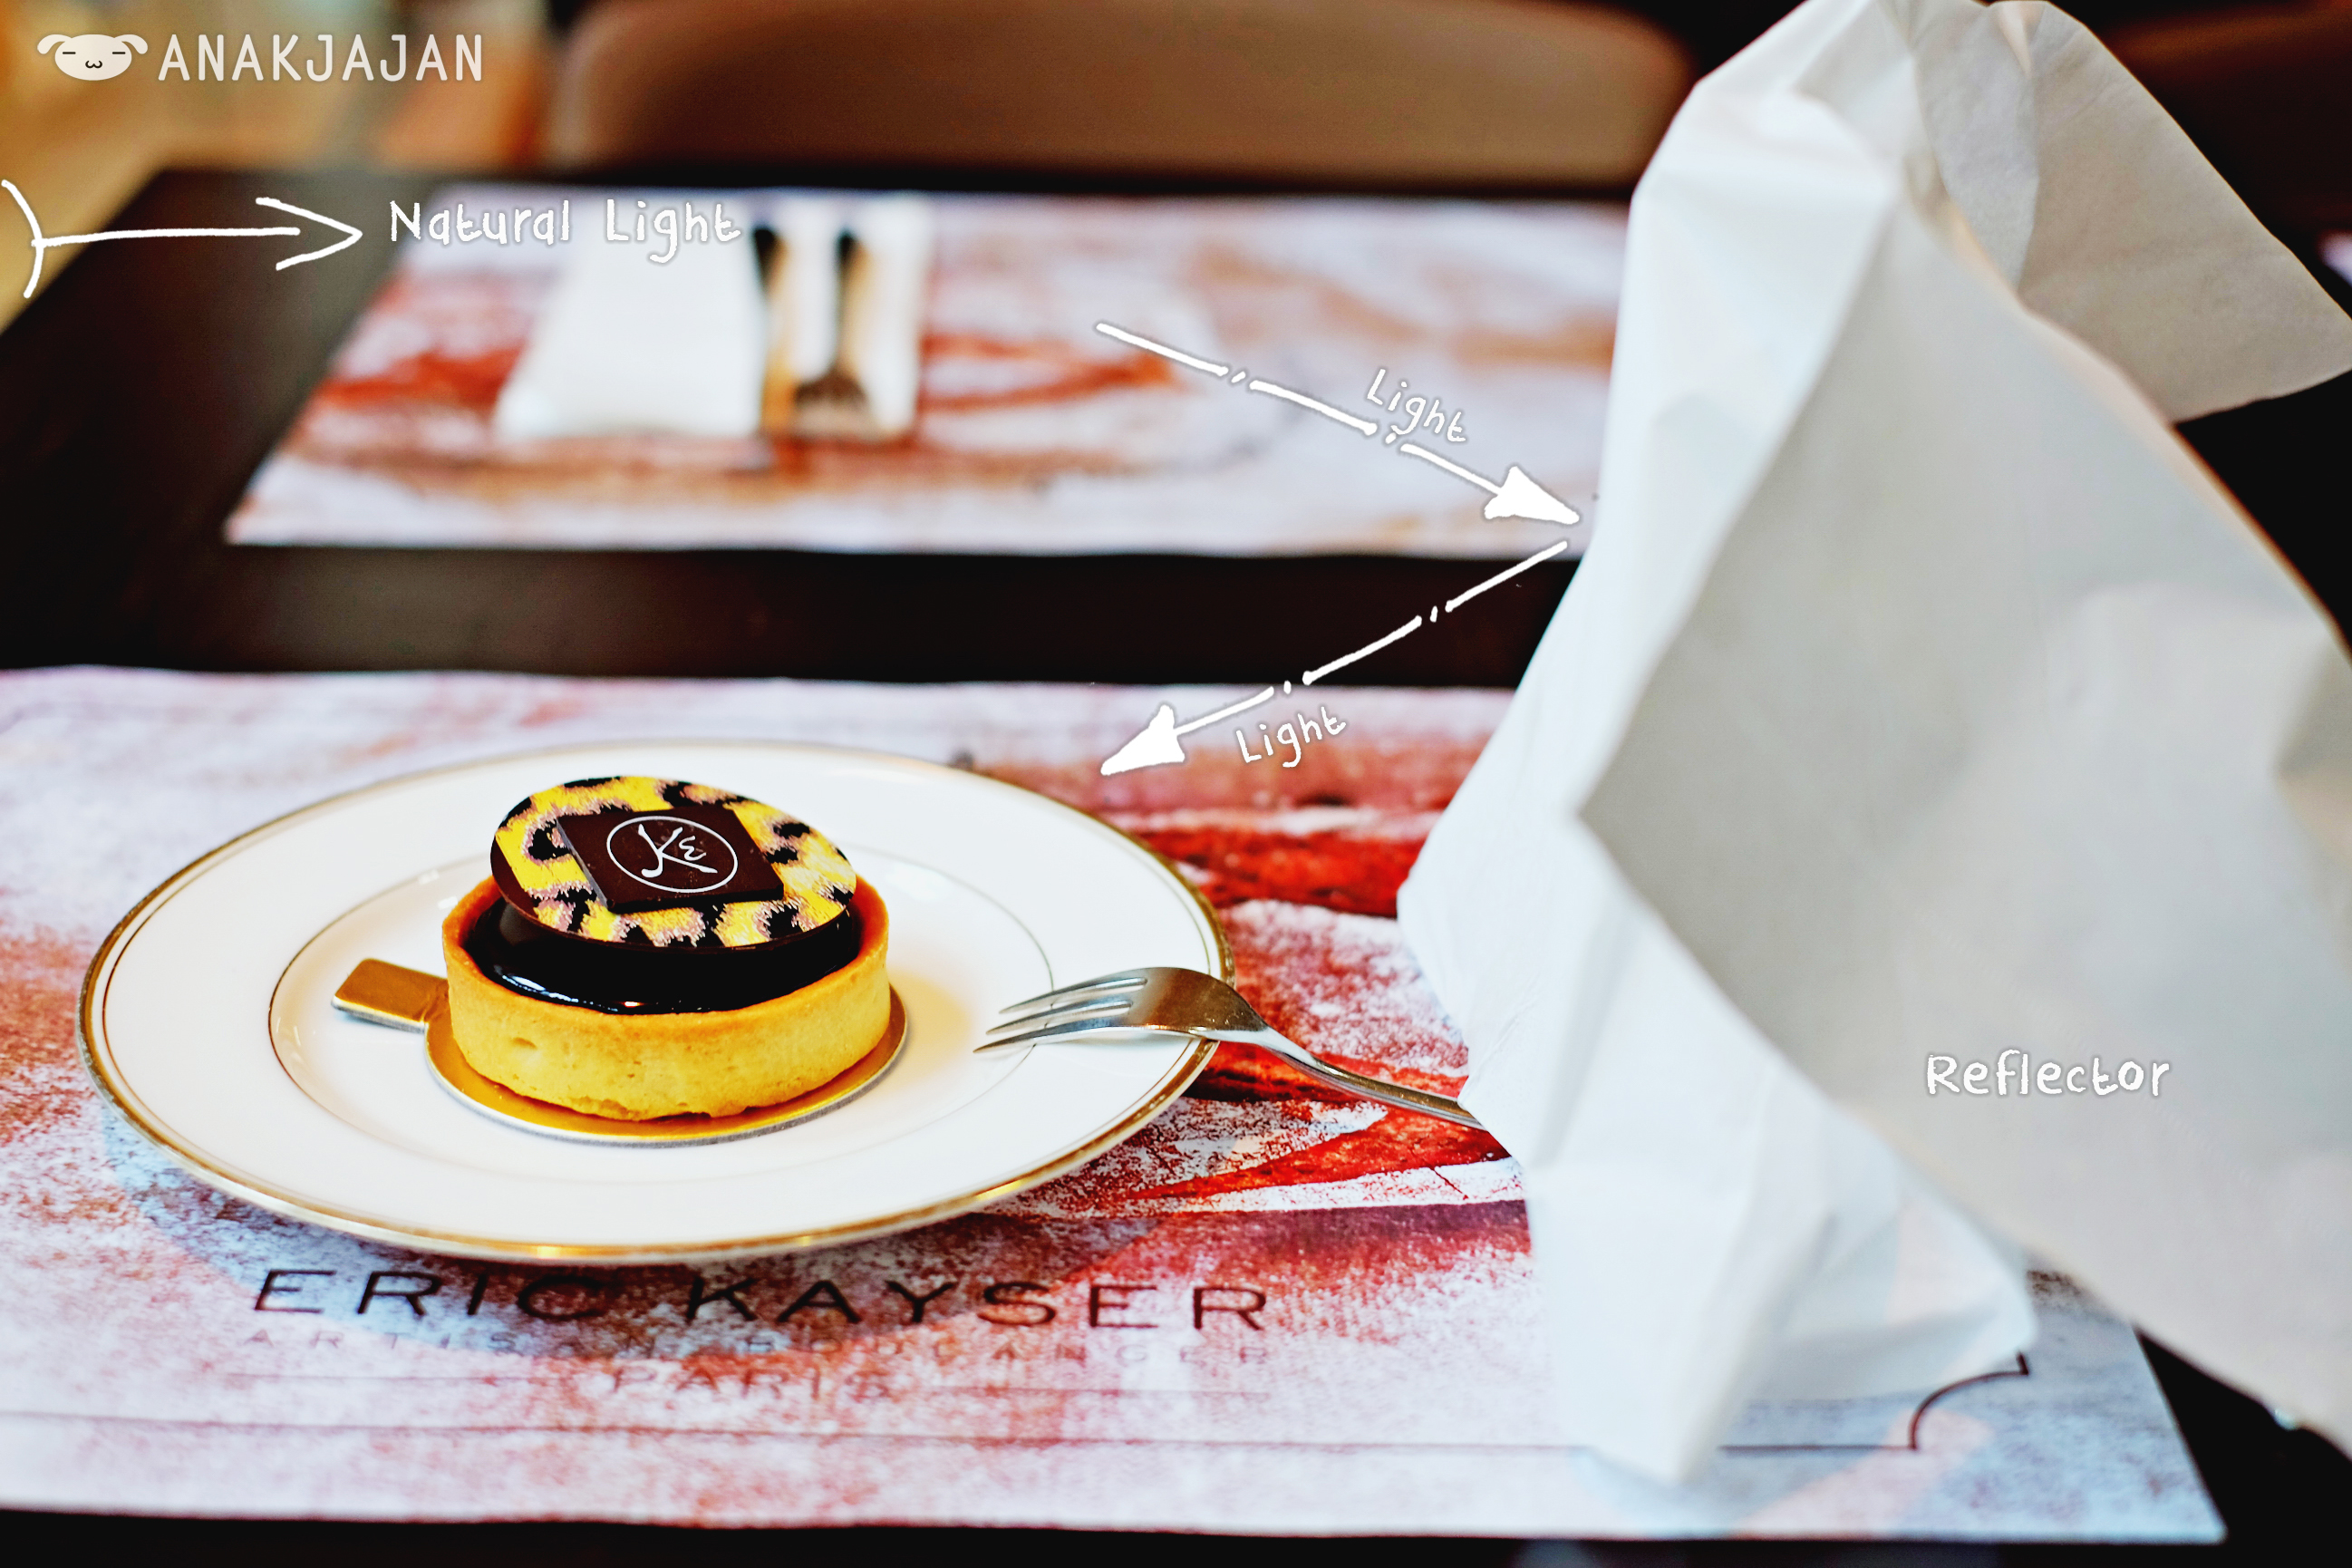
The secret it by creating your own reflector! Trust us, it works all the time. Anything white and wide can be used as a reflector. You can use menu book if the color is white, or maybe a piece of paper or the worst case (and mostly available everywhere) is by using tissue or napkin. Just put it on the darker side to reflect the bright light from window and voilaa u’ll get a photo with more even light.
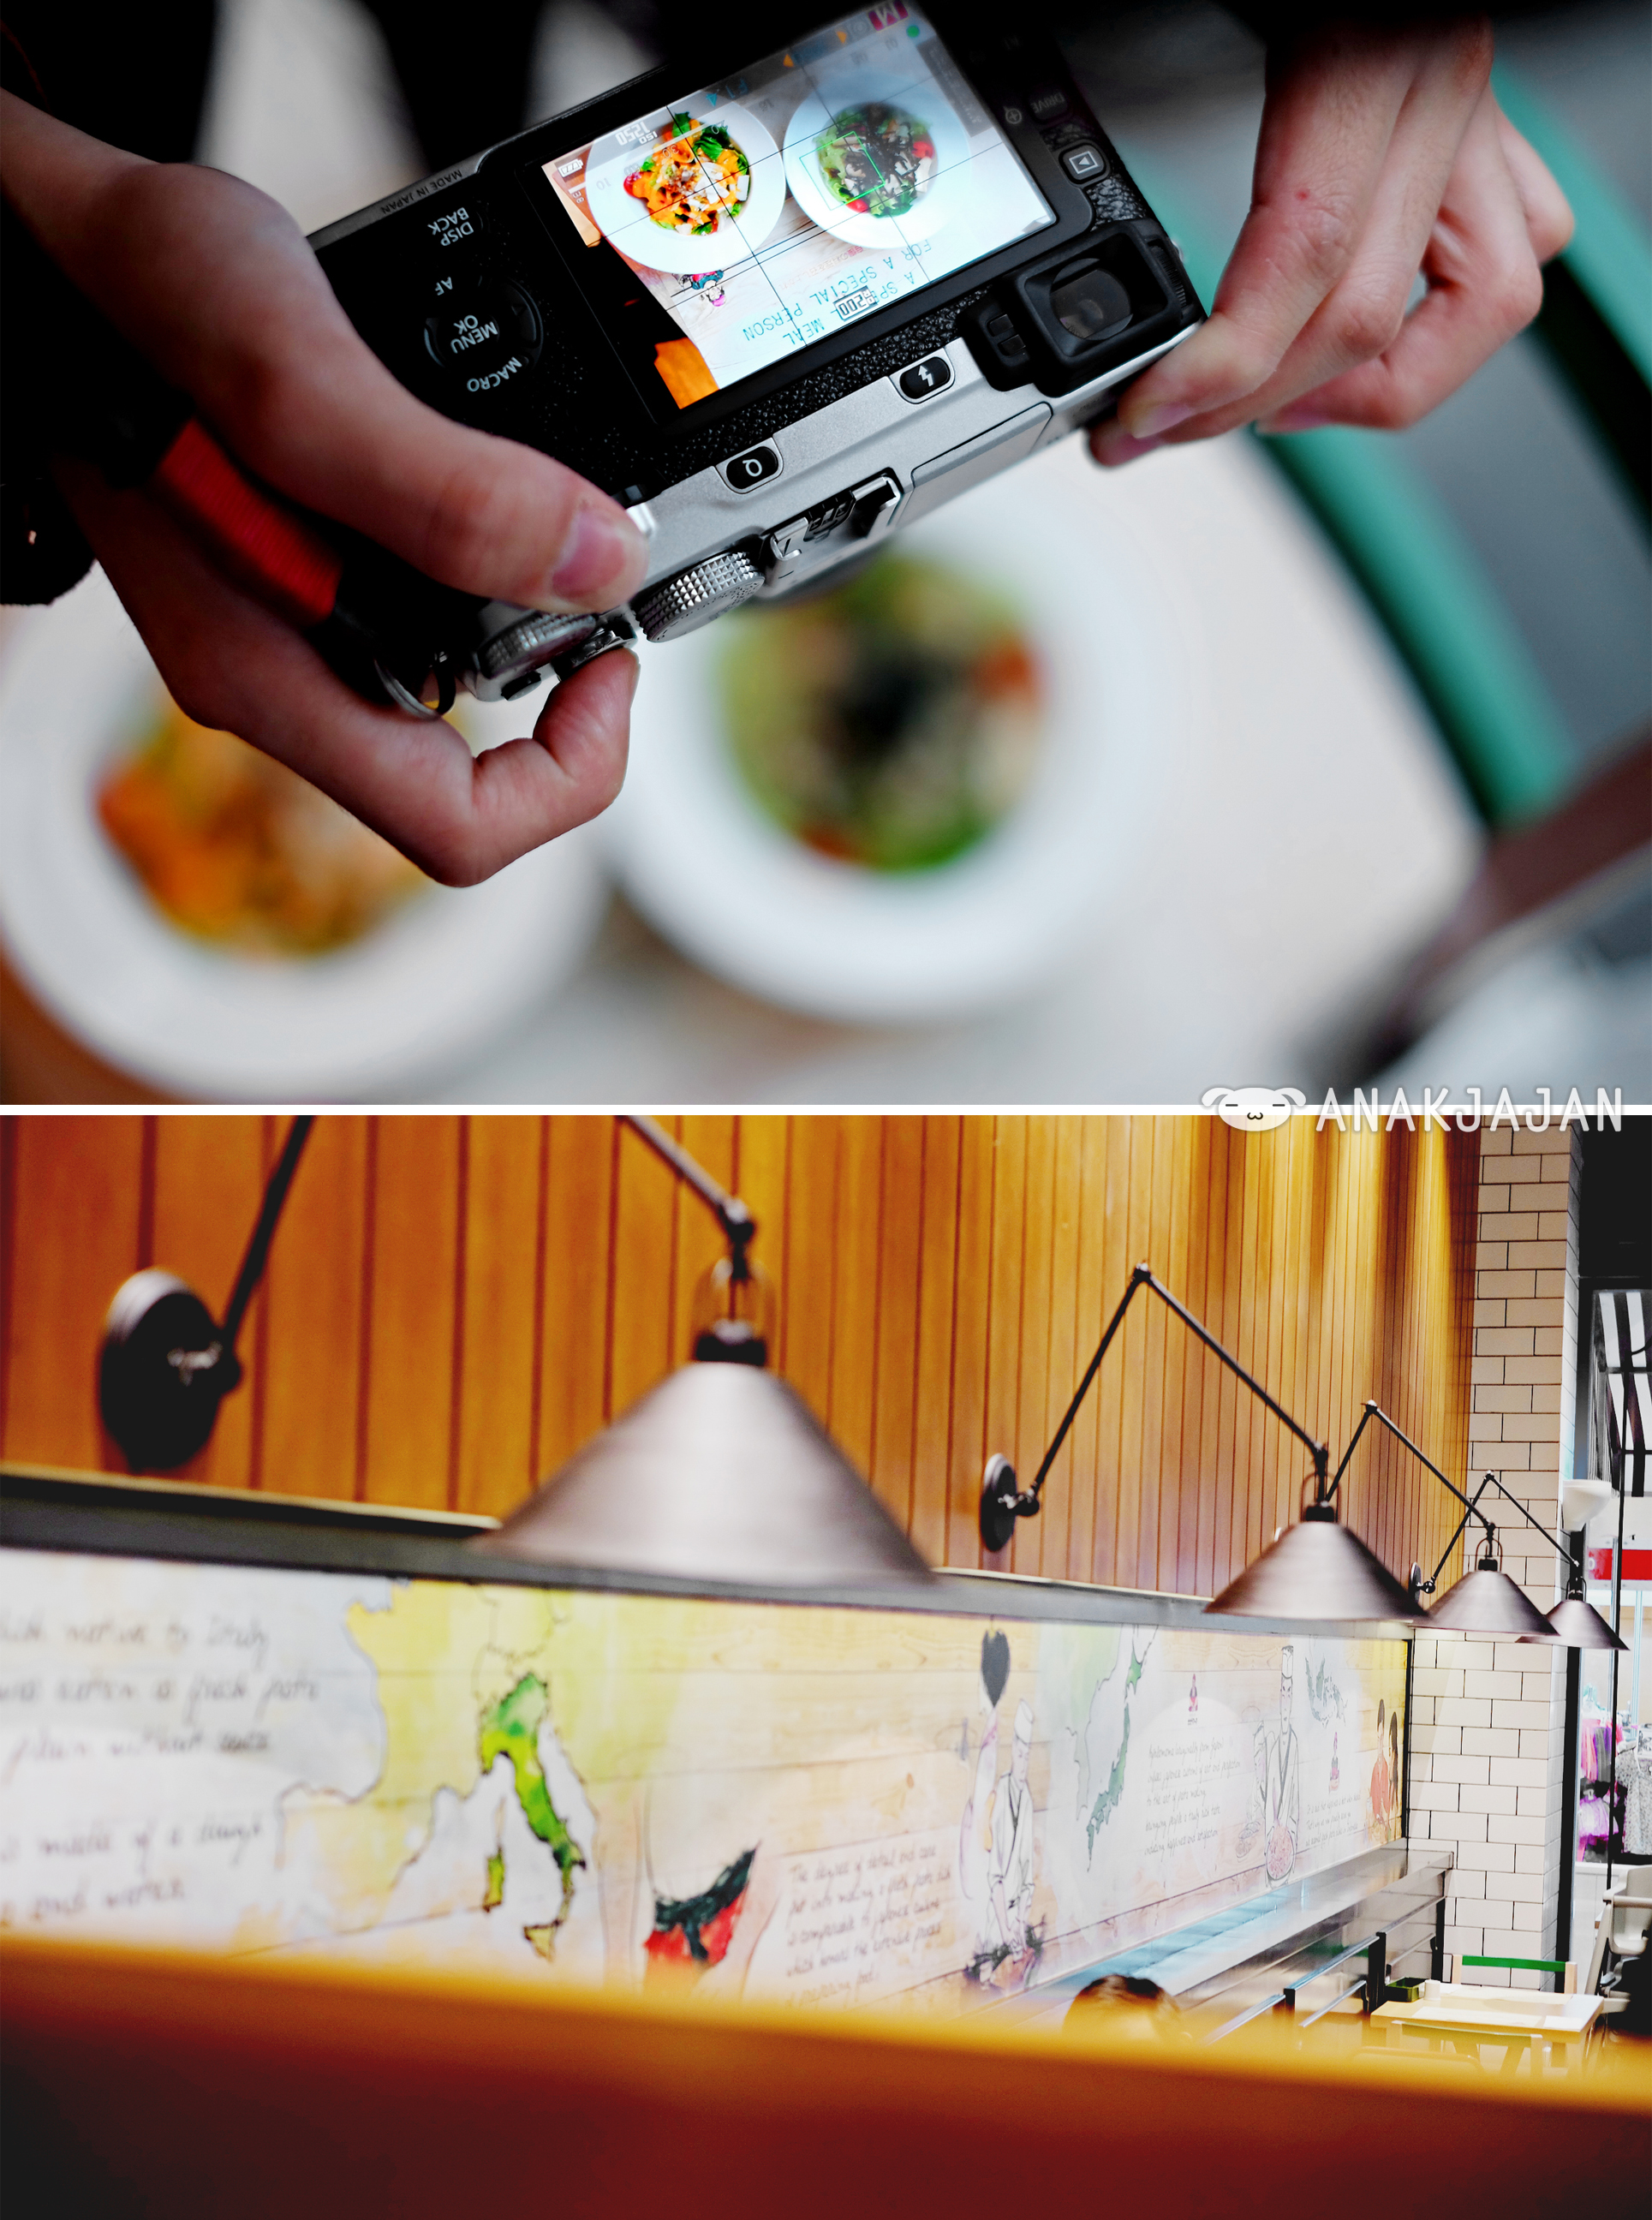
4. ANGLE
Slowly develop your sense & taste and get a great angle. Please don’t do the awkward ‘not straight enough nor tilted enough‘ angle, IMHO that’s weird.

5. OBJECT
Of course a great object will get you a effortlessly interesting photo for your instagram. Imagine taking photo of a piece of junk, that can be very challenging to make it become an artsy interesting photo rite??
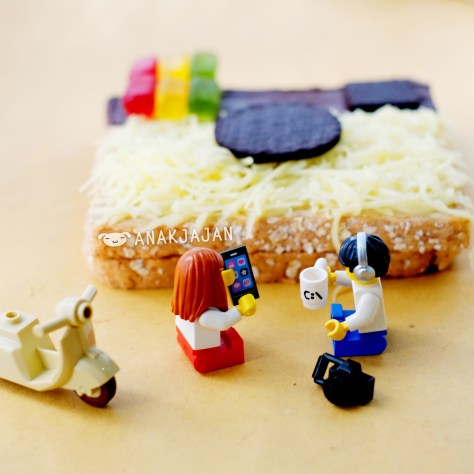

For example the photo below, we made Instagram Toast a while ago and look at the number of likes, AnakJajan believe this is mainly because of the unique object.
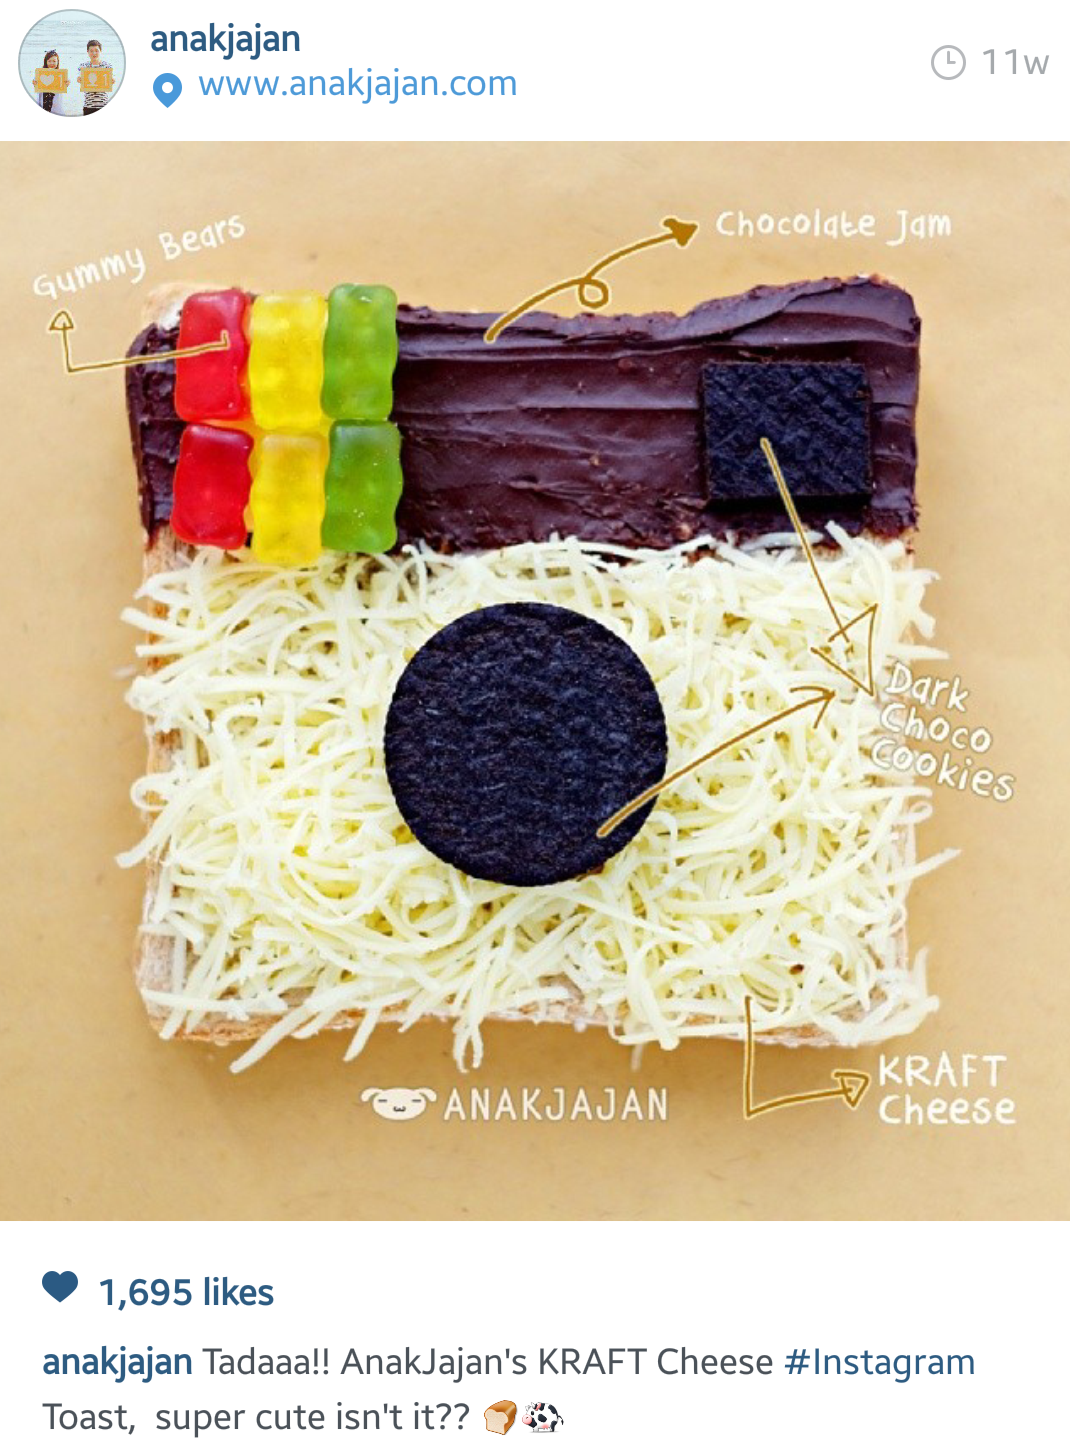
Here’s one cheat formula for you, grab a piece of magazine with instagenic cover for example Kinfolk and arrange it with some decoration for example coffee or plants and then take the picture with top shot angle.
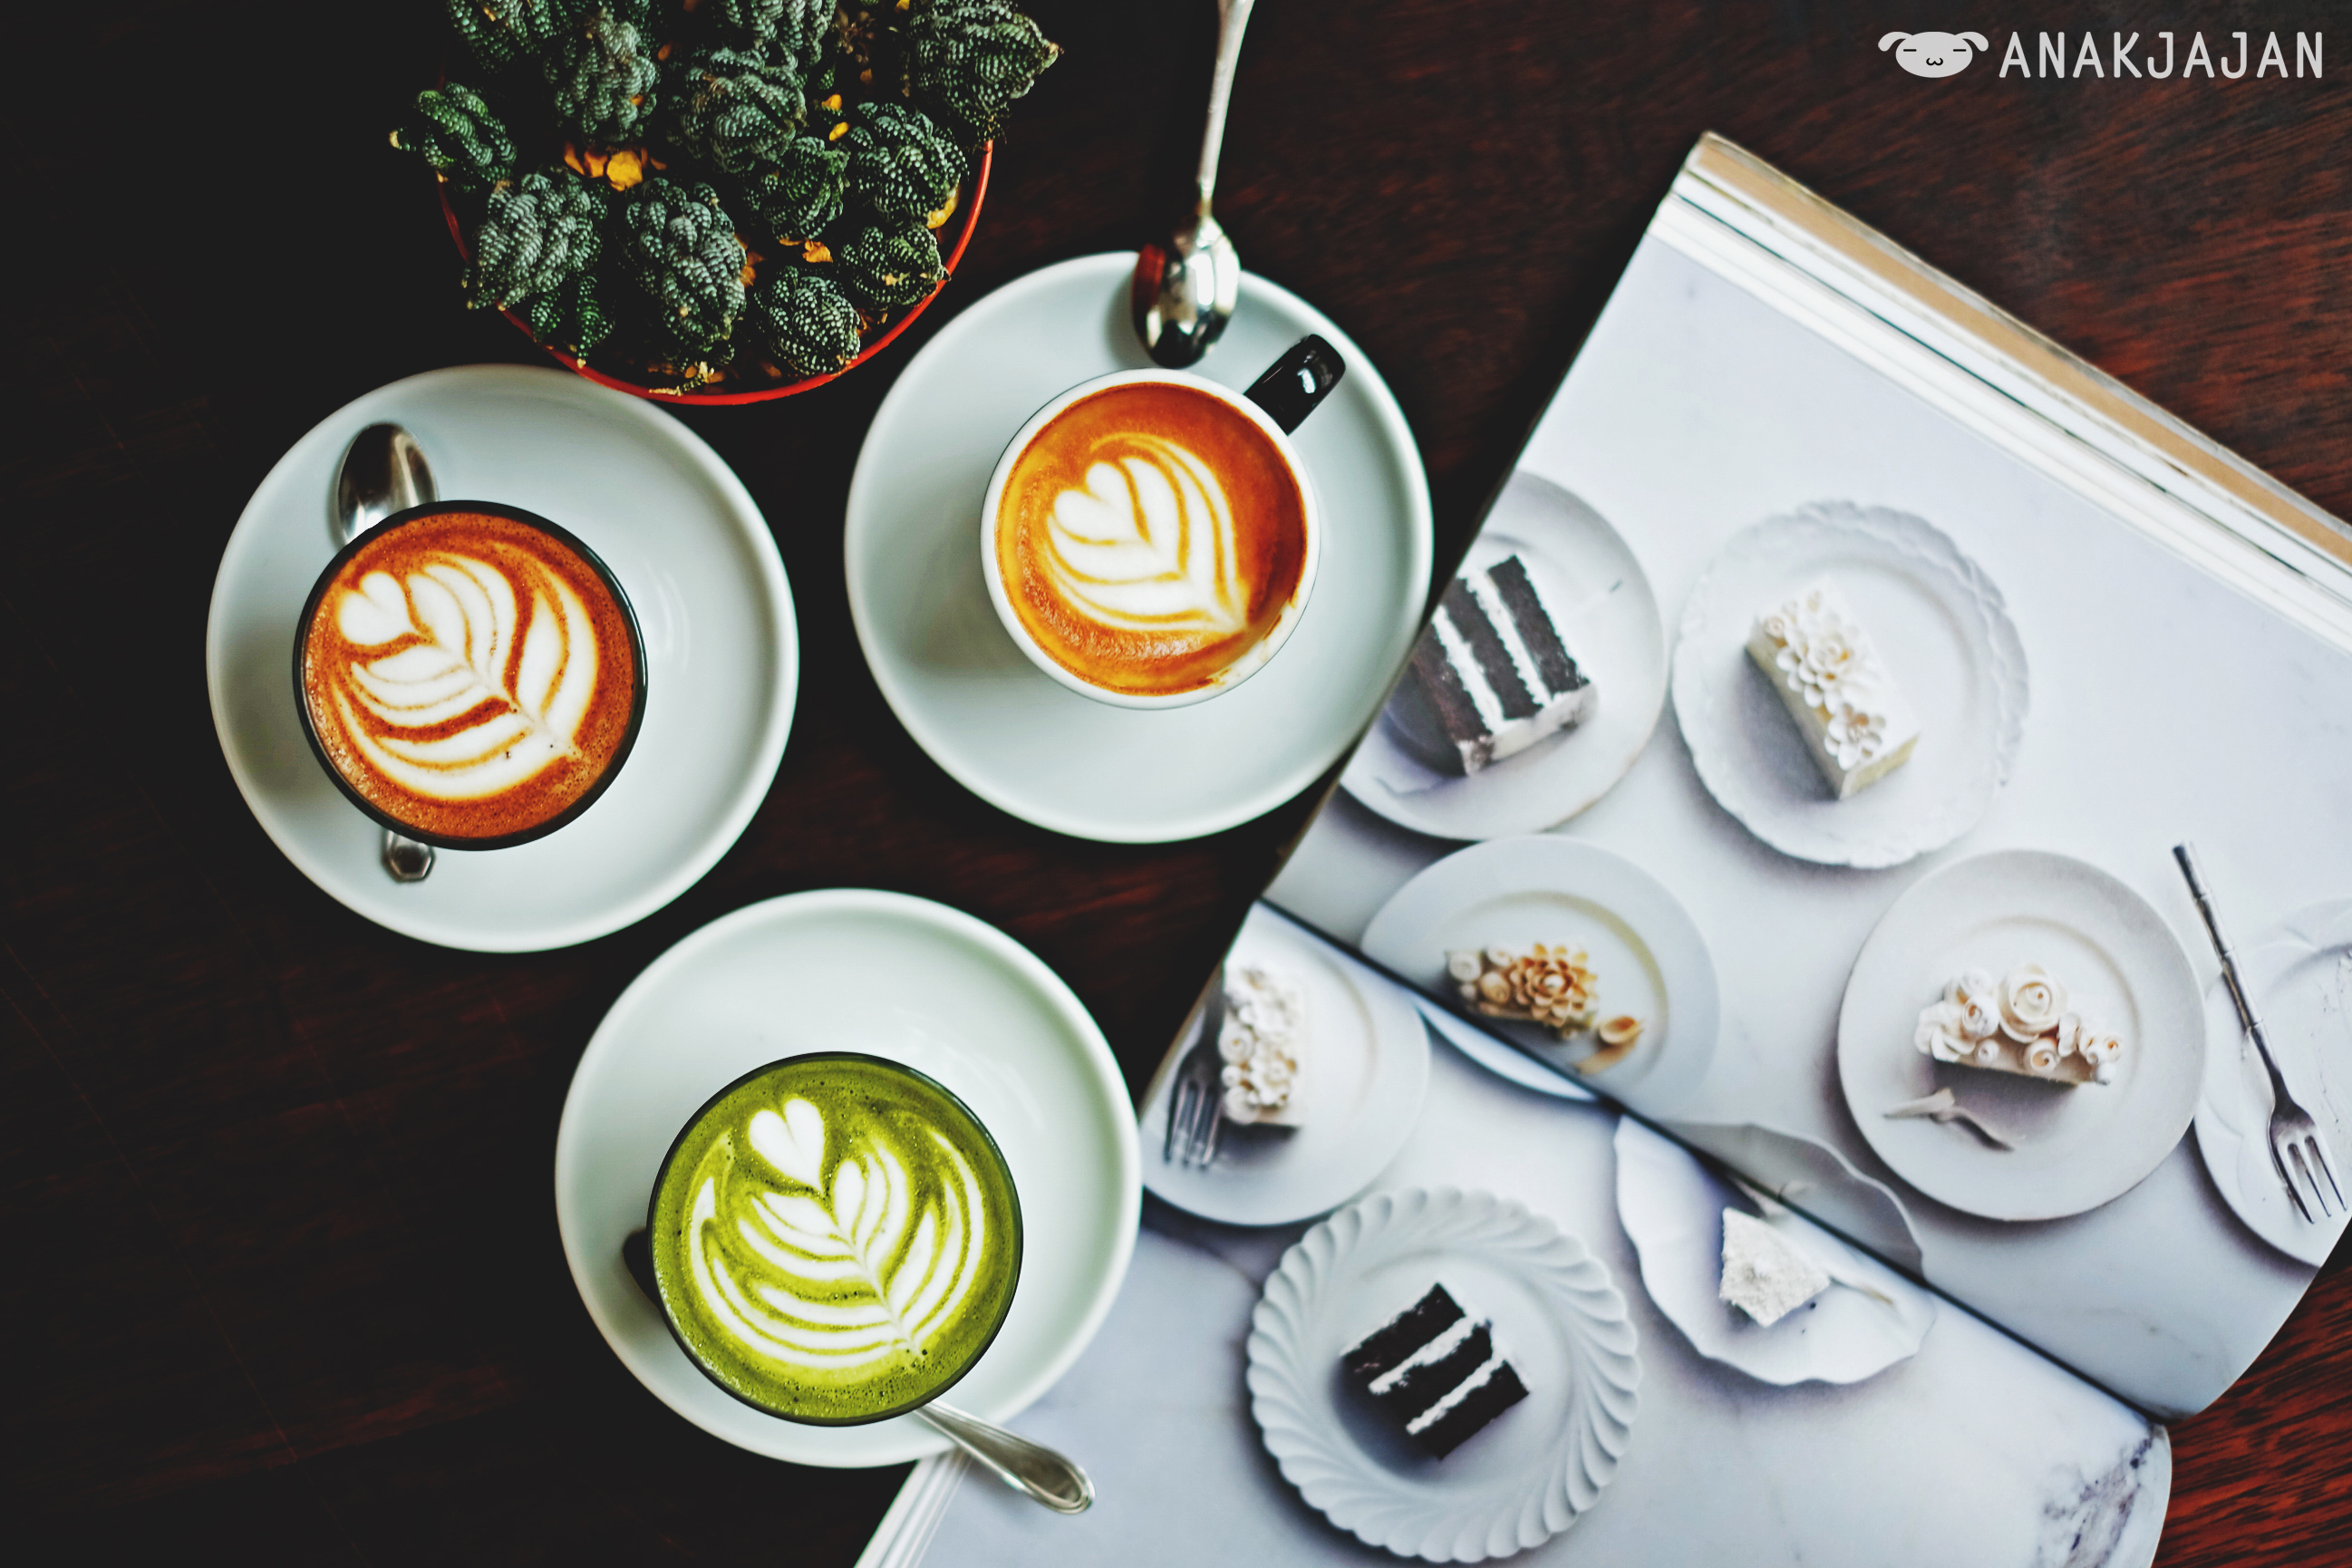
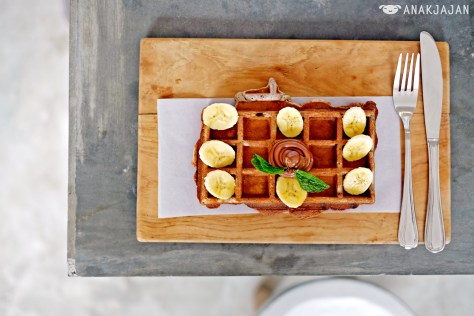
6. TOP SHOT
This is no longer a secret. The popular instagenic angle on instagram would be the Top Shot. U can practice arranging stuff on the table to get a nice top shot photo.
Pay attention to the light source, make sure the light source is in front or beside you, do not stand under or blocking the light as it will produce shadow in your photo.

7. MANNER
Following the previous tips. Of course if you want to get a great top shot photo with wider range, you will need to aim it from higher point rite? Sometimes it will require you to climb for example a chair. Well, please do me a favor, please please please don’t do that at public area such as restaurant because that’s pretty embarrassing and not classy.

Imagine what will the other customer or restaurant owner/staff think when they saw you climbing the chair?? Well some foodie friends of mine are still super naughty and still doing that sometime 😀 Things will be different if you are doing it at your own home, you can climb anything as high as you want comfortably.
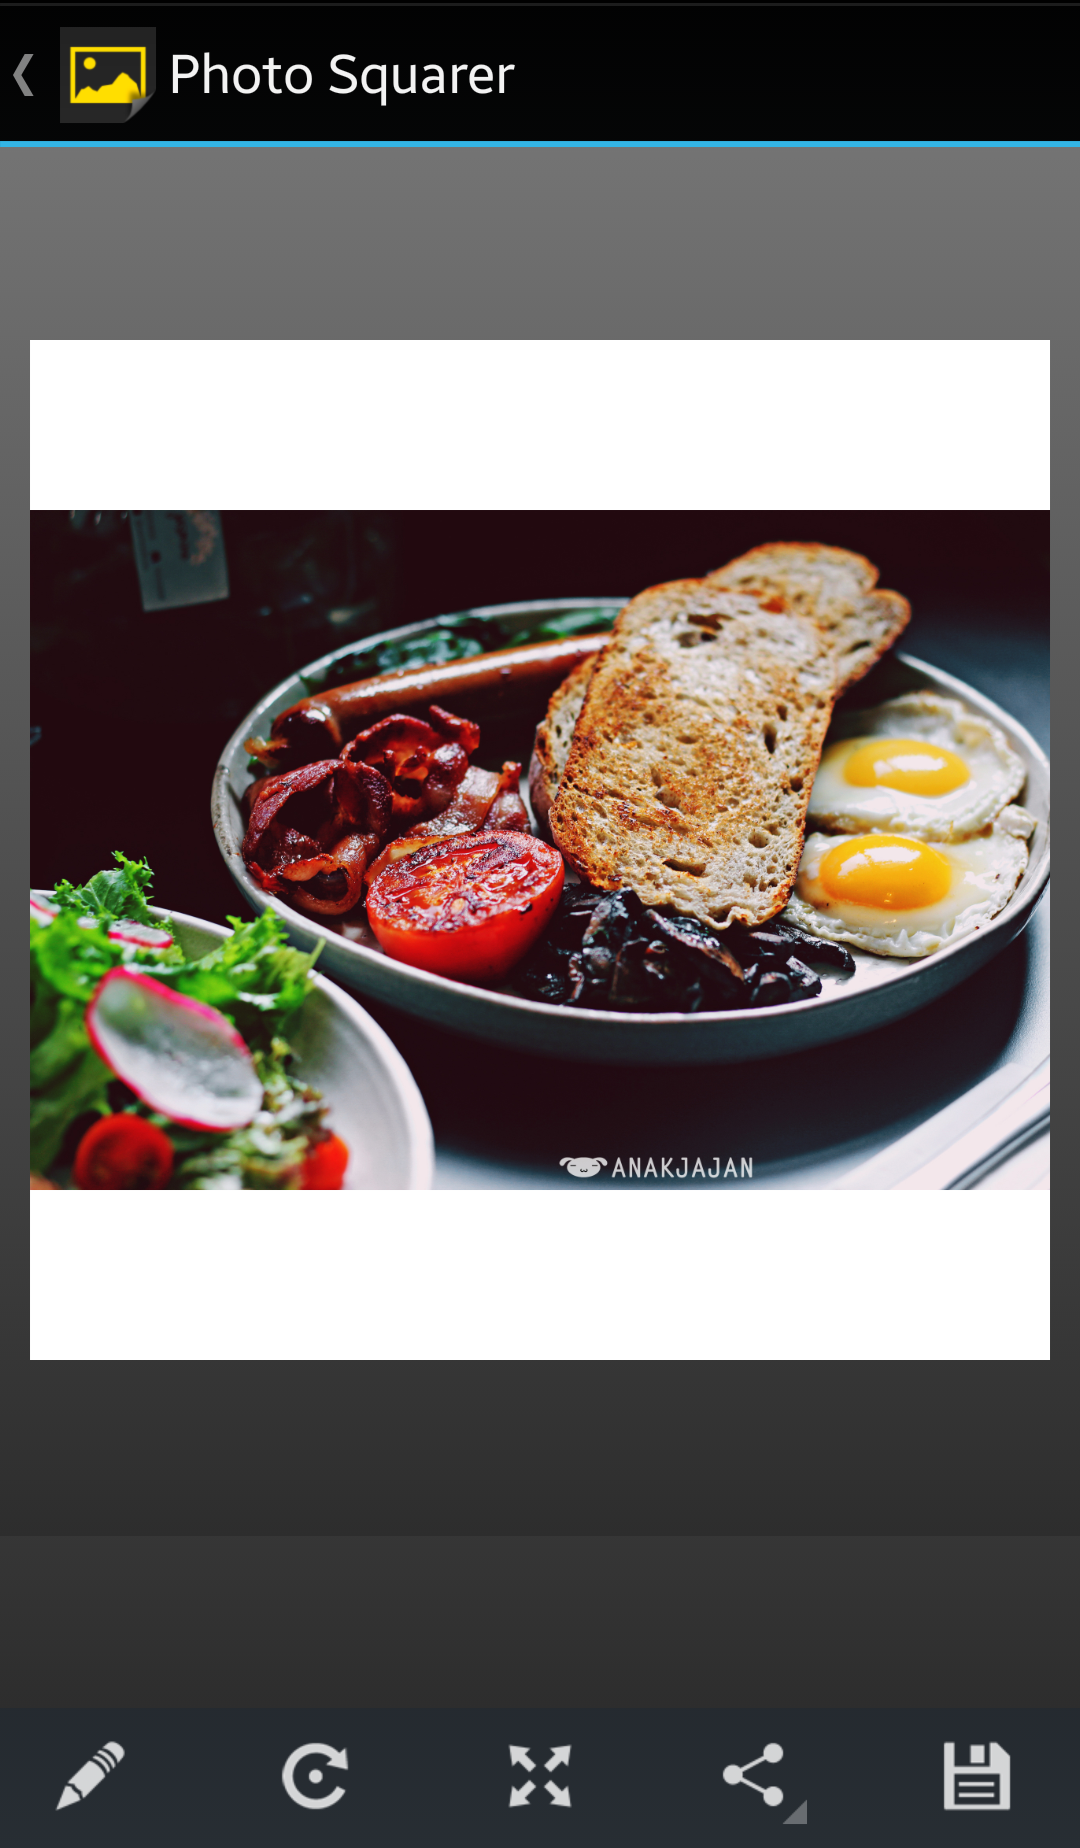
8. 1:1 ASPECT RATIO
Instead of using 3:2 or 16:9 photo proportion/ aspect ratio. You can try using 1:1 square photo ratio. So instead of cropping your photo, you will get the best square photo angle for your instagram post.

But if you already have your portrait or landscape photo with 3:2 or 16:9 ratio, you can use photo squarer apps such as Squaready, Photo Squarer, Square it, etc.
9. KNOW YOUR GADGET
Study your gadget, learn the feature and find the best setting for your shoot to get the best result from it.
10. EDITING
Even though if your gadget is advance enough, editing process is guarantee will and can enhance your photo in a good way, just don’t over edit it.
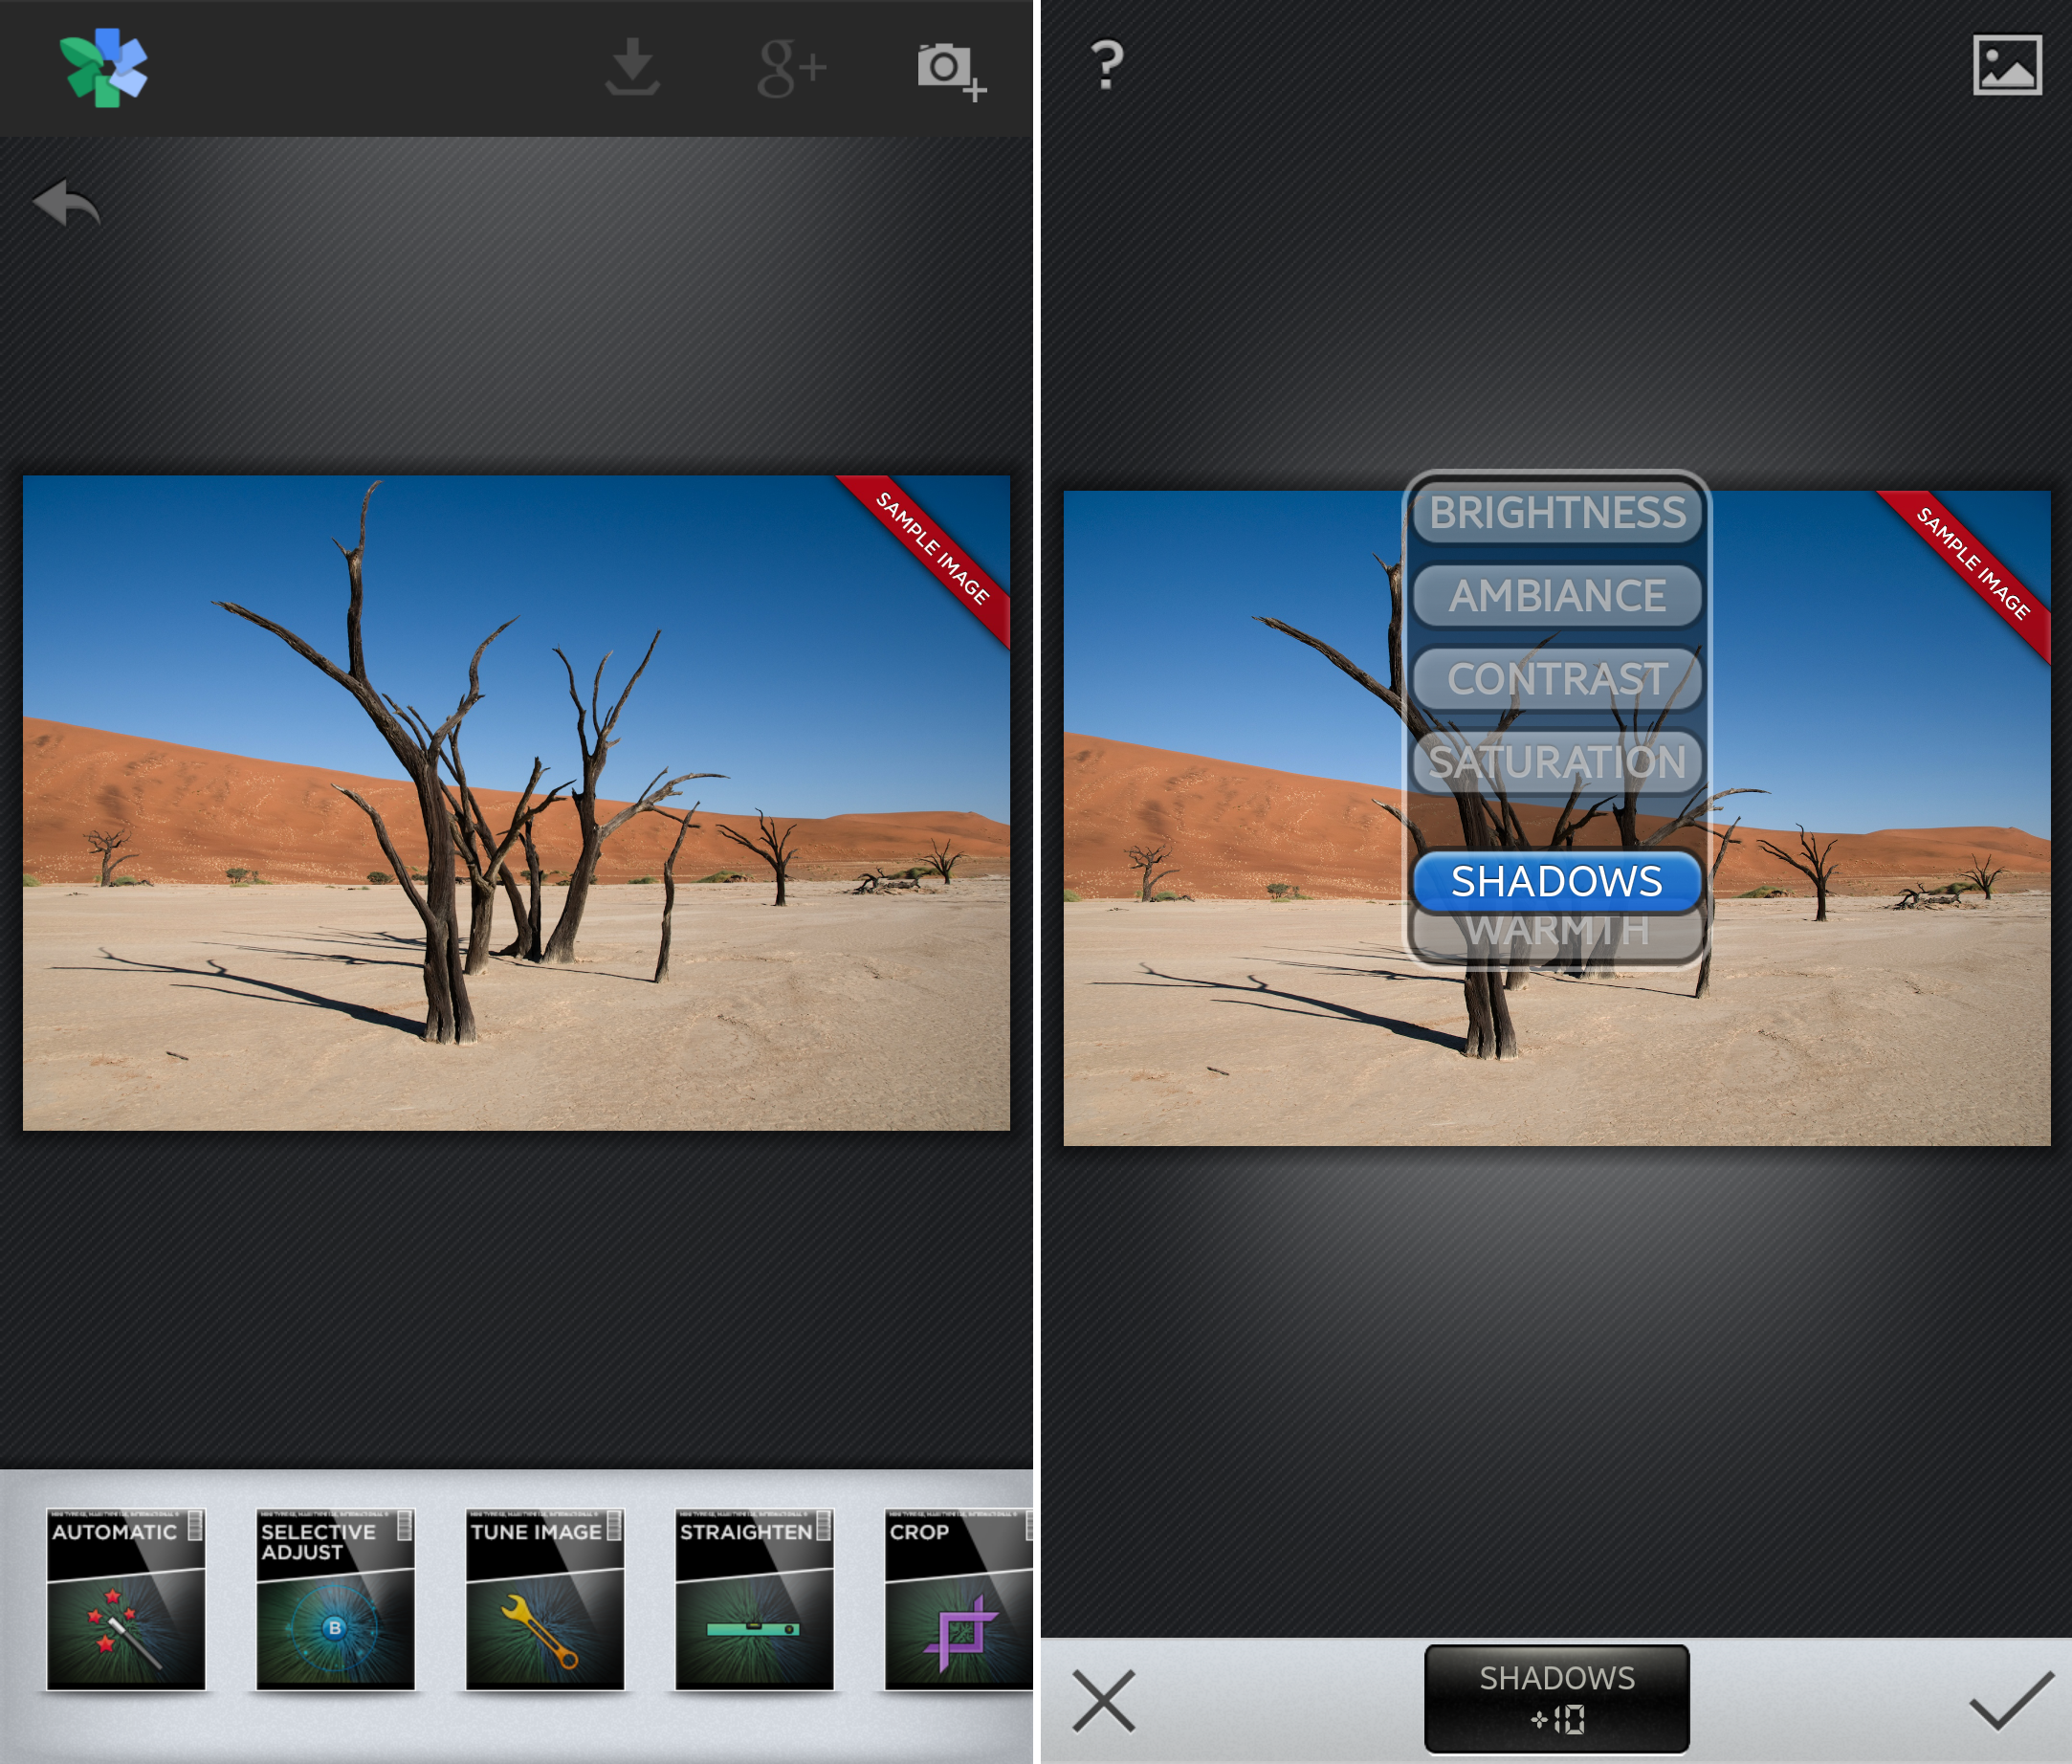
There are two apps that we usually use on our phone to edit our photos before posting it on instagram, that are Snapseed and VSCO.
We will not talk about much about editing, but if you are interested please do tell us so we will think about creating another post talking about photo editing 🙂

Well, that’s all of the 10 tips, hopefully these tips are useful for you, if you have any questions do not hesitate to ask. Let’s insta!! 🙂

That is very fascinating, You are a very skilled blogger.
I’ve joined your rss feed and look ahead to seeking more of youhr fantastic post.
Also, I have shared your site in my social networks
as please. make some post about how to edit your photos using phone apps. thankssss 🙂
Thank you a bunch for sharing this with all people you actually recognise what you
are talking approximately! Bookmarked. Kindly also seek advice from
my website =). We may have a hyperlink change contract between us
Hallo anakjajan~
Thanks for the tips. Im an instagram addict too (you can find me @cindyroring) hehe
Btw, aku mau nanya. Kalo kita foto pake kamera (not phone camera) kan kita pasti dapet hasil fotonya landscape. Gimana kita bisa edit foto itu jadi menarik ke foto ukuran insta 1:1 yaa? kan pas kita foto pasti kita dapet bagusnya ukuran landscape. Bantu info yaa. Thanks before 🙂
Hi. Biasanya di kamera ada settingnya ukuran resolusi dan proporsi fotonya,klo yg sering dipake kan 2:3 or 16:9 tapi jatohnya jadi landscape hasilnya. Biasa kita sengaja setting langsung 1:1 jadi hasilnya udah square. Tp kl uda trpaksa landscape n uda bagus, drpd di crop bisa kamu coba pakai apps ‘square it’ or ‘photosquarer’ biar bisa ga kepotong pas di post di insta 🙂
Danke banyaaaaak. Membantu sekali infonya. Gbu 🙂
Kalau kita top shot kan suka ada bayangan tuh, gimana dong? Hehe
Perhatikan sumber cahaya. Jangan pas dibawah cahaya or membelakangi cahaya biar ga ad bayangan. Sebisanya sumber cahaya dari depan atau samping utk memininalisir bayangan
That’s very helpful! Especially the napkin idea :))
But, what if it makes reflection while we doing the top shot? Do you have any idea how to solve this problem?
You can put the reflector further from your object, so it still can give you more evenly bright photo without snapping the reflector inside the photo.
Also pay attention to the light source, do not stand under the light or blocking ur light source as it will produce shadow
Thanks a lot cici! That’s absolutely a very useful tips for all of ur followers. We want to know more about photo editing as well, ci! Hopefully we can improve our skill as well.. Thanks a lot ci, have a nice day!😁
U’re welcome. Okie dokie, will write blog post about editing too 😊
amazing & useful tips!!
http://chezabelll.com/blog
Great post!! Pas banget aku lg belajar cara ambil foto makanan/barang yang bagus. This post help a lottt 🙂
Mau donk postingan tentang photo editingnyaa. Terutama yang pakai aplikasi di hp. Biar lbh mudah. Thankssss
Okay. Will write another post about photo editing via phone. Stay tuned 🙂
good tips. it’s very helpful for me.
Great post! Tell us how editing photos with great result as you, please… 🙂
Perfect!!! Lanjut bikin post tentang photo editingnya donggg. Hehehe. Lagi tertarik banget sama fotografi, terutama yang hanya bermodalkan kamera handphone biasa. Thanks a lot for this tips ☺
u’re welcome. Will write another post about phone photo editing soon 🙂
Very interesting post, “sometimes” I took photos of my food before eating them, but rarely got good enough photo. And I learned a lot from your post.
If you don’t mind, could you share how do you post editing your photo?
How do you get pastel color things?
I’ve tried play around Snapseed and VSCO, but I’m not very good of it.
Keep eating, keep shooting, and keep sharing.
Hi. Glad that our post can be helpful for you. For color effect I usually use VSCOcam. Will write the post next time 🙂
Bermanfaat banget ko! Baru nemu post ini>< thank you for your kindness sharing this with us!😊
U’re welcome 🙂
Thanks buat infonya, sangat menambah informasi. Mau tanya seperti foto topside handfie kan susah ya kalau pakai tripod kadang suka nggak pas/nggak kelihatan jadi mesti diulang2. Apakah ada solusi selain pakai add on lcd viewer?
Sama2. Hmm utk topshot salah solusinya dg kamera yg layarnya bisa di putar jadi dari bawah or samping bisa kelihatan apakah sudah pas atau belum 🙂
hoo, thanks hia atas masukannya, jadi tahu lebih banyak, mantap bgt artikelnya
thanks a lot mrs.Jajan ! will try all the tips later !! *im thinking starting a food blog instead of daily life event blog* cheers !
You’re welcome 😉