

Hello Sahabat Jajan!! Do you still remember our last post about How to Take Instagenic Photos for Instagram?? Well because many of you have been requesting for another post about photo editing especially via phone / mobile apps, here is this ‘101 Photo Editing Guide via Snapseed’ post for you


Well basically there are two apps on our phone that we use for photo editing especially for our instagram feed @AnakJajan that are Snapseed and VSCO, both apps are powerful and has its own uniqueness and strength, but we will be talking about Snapseed app only on this post.


Snapseed is a mobile app for photo editing by Google, it’s available at Android’s Google Play and Apple’s App Store for Free.

As I’ve said earlier, it’s a powerful app packed with so many feature, but we will be focusing only on several features that are useful and we use frequently.


I usually use photoshop via computer to edit all of my photo for blogging purpose, but specially for this post we only use Snapseed app to edit all of the photos except the watermark.


0. CONTROL
In each feature, you will need to swipe the screen up or down to change the menu and then left or right to adjust the strength.
1. TUNE IMAGE
This is the number one most useful feature that can help you adjusting almost every thing for your photo. There are 6 components you can adjust:
1. A. Brightness
Simple and useful menu for adjusting the brightness of your photo, simply just swipe to the right to brighten and left to darken.
1. B. Ambiance
This is a very unique menu where you can adjust the balance between subject and surrounding ambiance.
1. C. Contrast
You can increase the contrast for more explicit and clear photo subject.

1. D. Saturation
Adjusting the saturation or vibrancy of the color from your photo whether you want your photo with more vibrant color or vice versa.
1. E. Shadow
Have you ever face a situation with a photo that has uneven light? Some part of the photo already bright enough but the other part still too dark, in that case you will need to brighten the shadow with this menu.


1. F. Warmth
Sometimes you will get a too yellow or too blue-ish tone on your photo, that’s why you will need to adjust the white balance, if the photo is too yellow you can swipe to the left to make it less yellow, or swipe to right if your photo is too blue-ish.


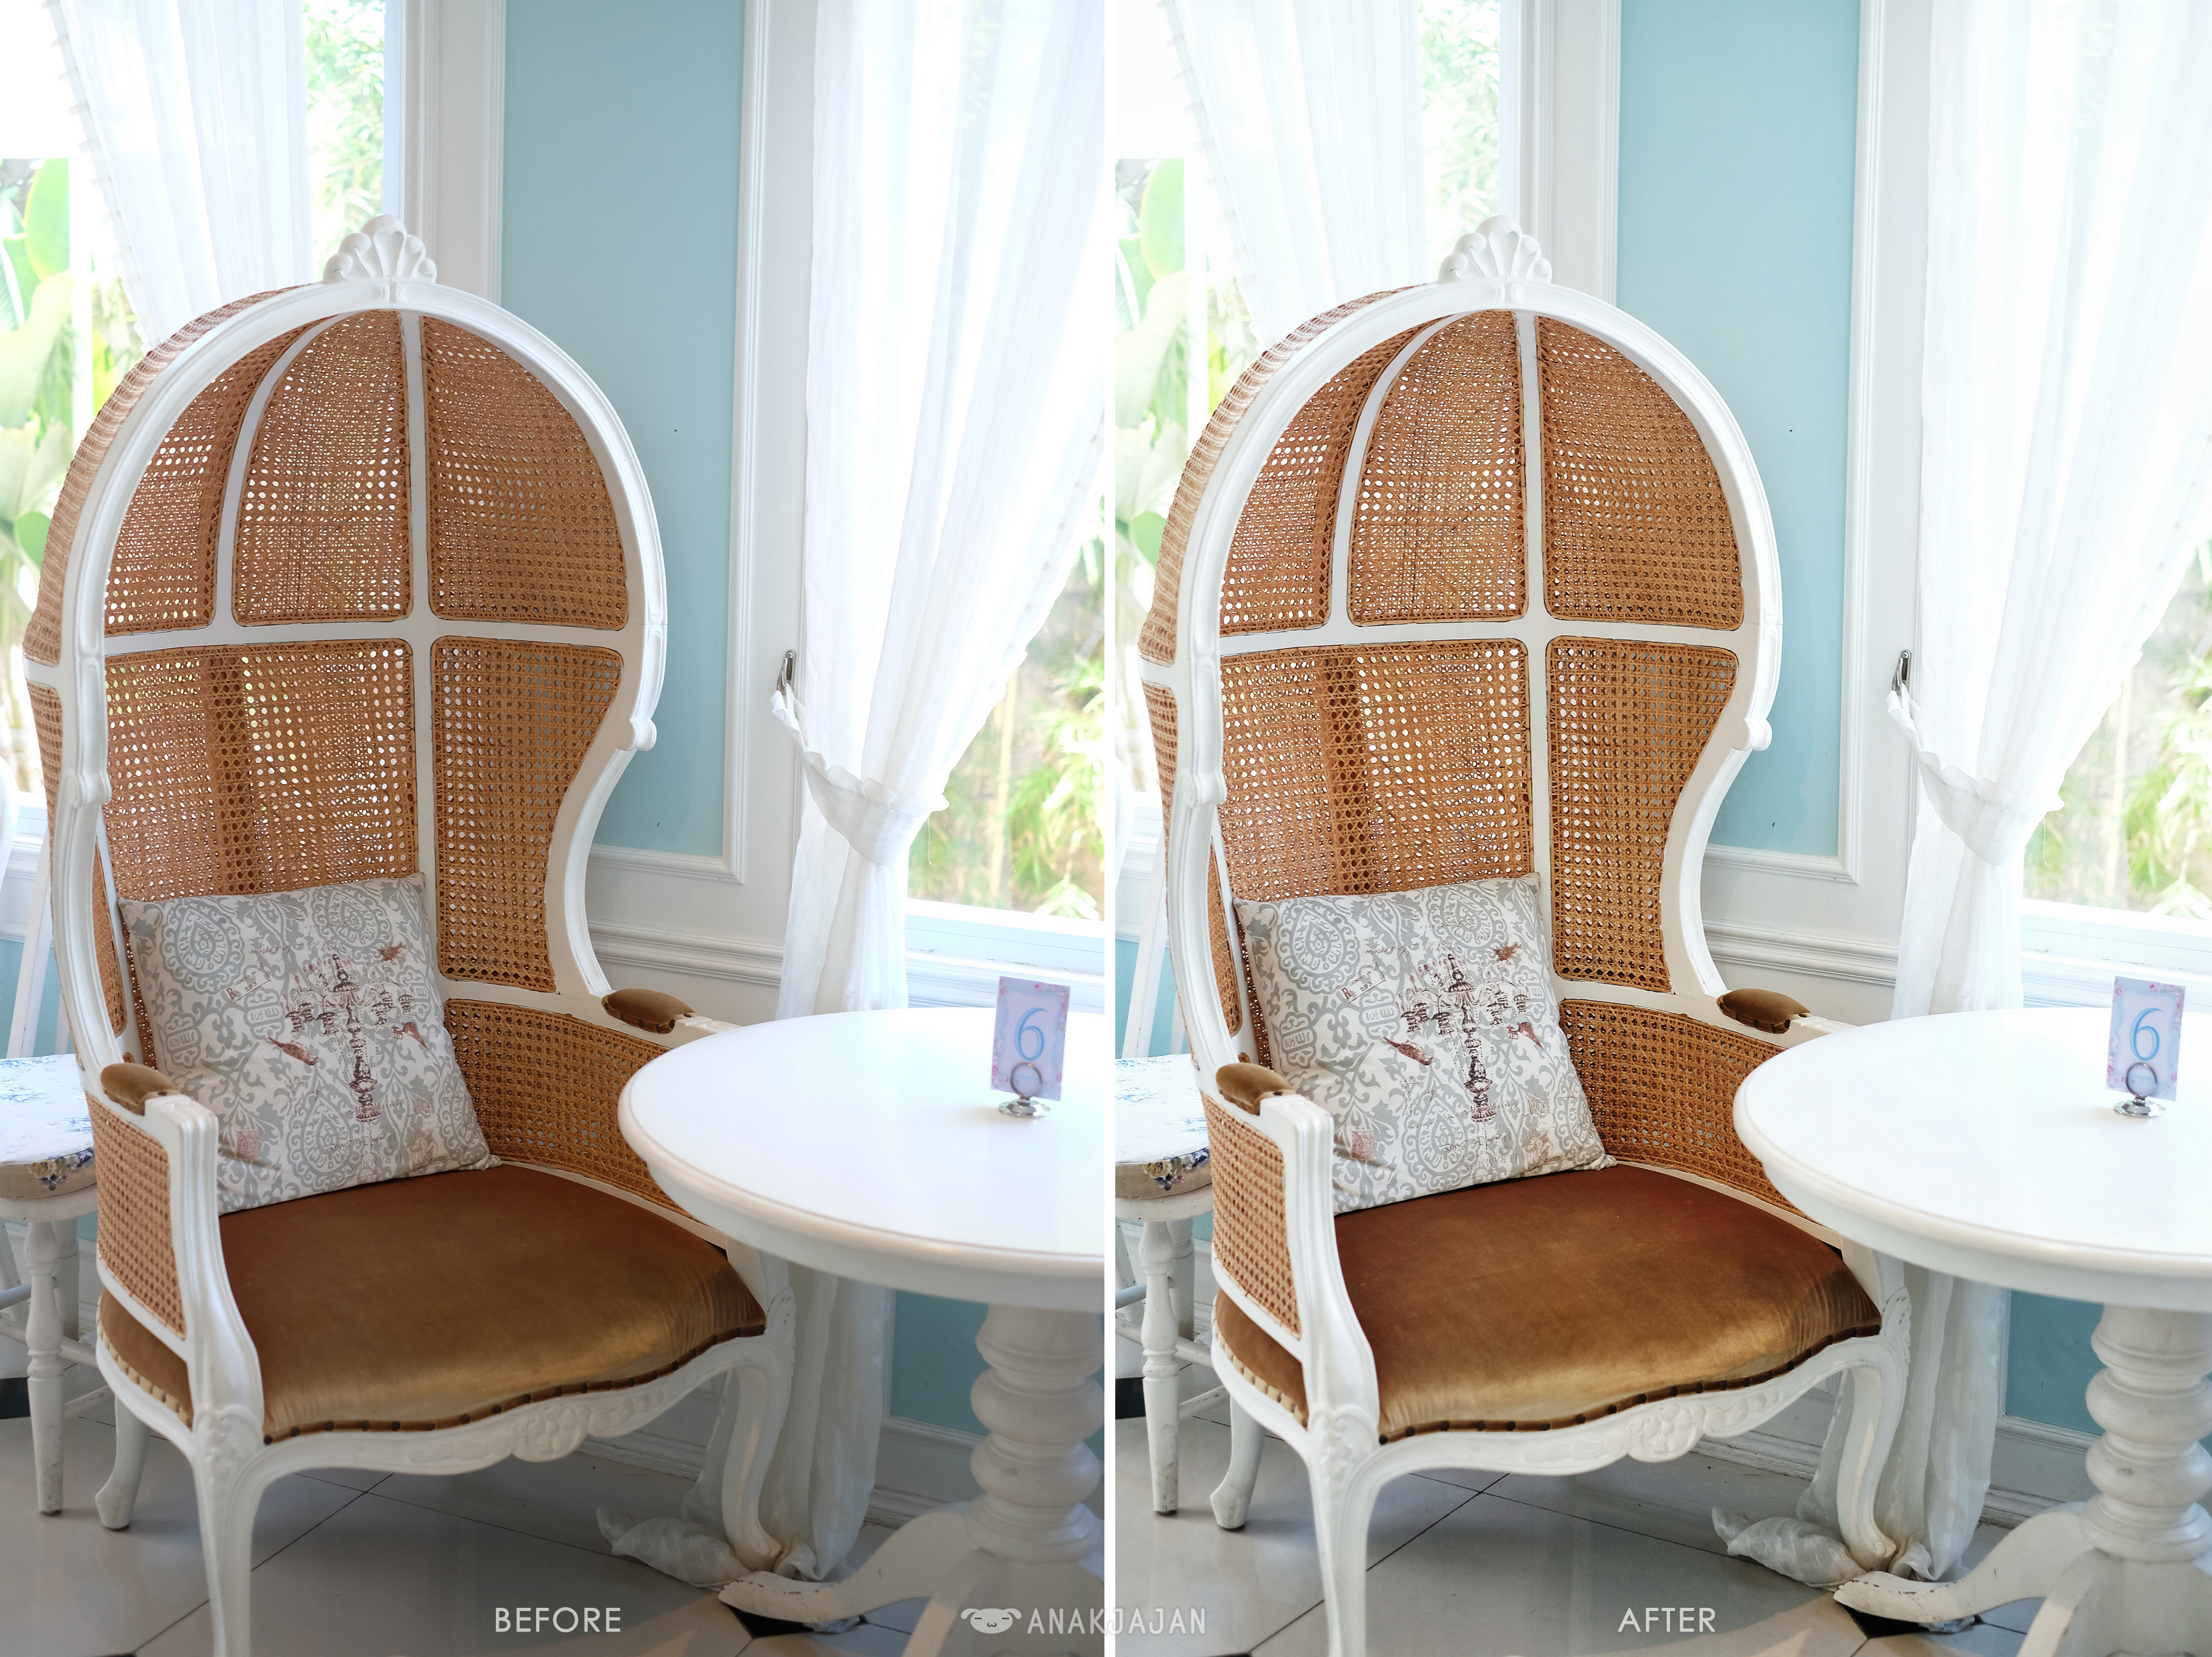
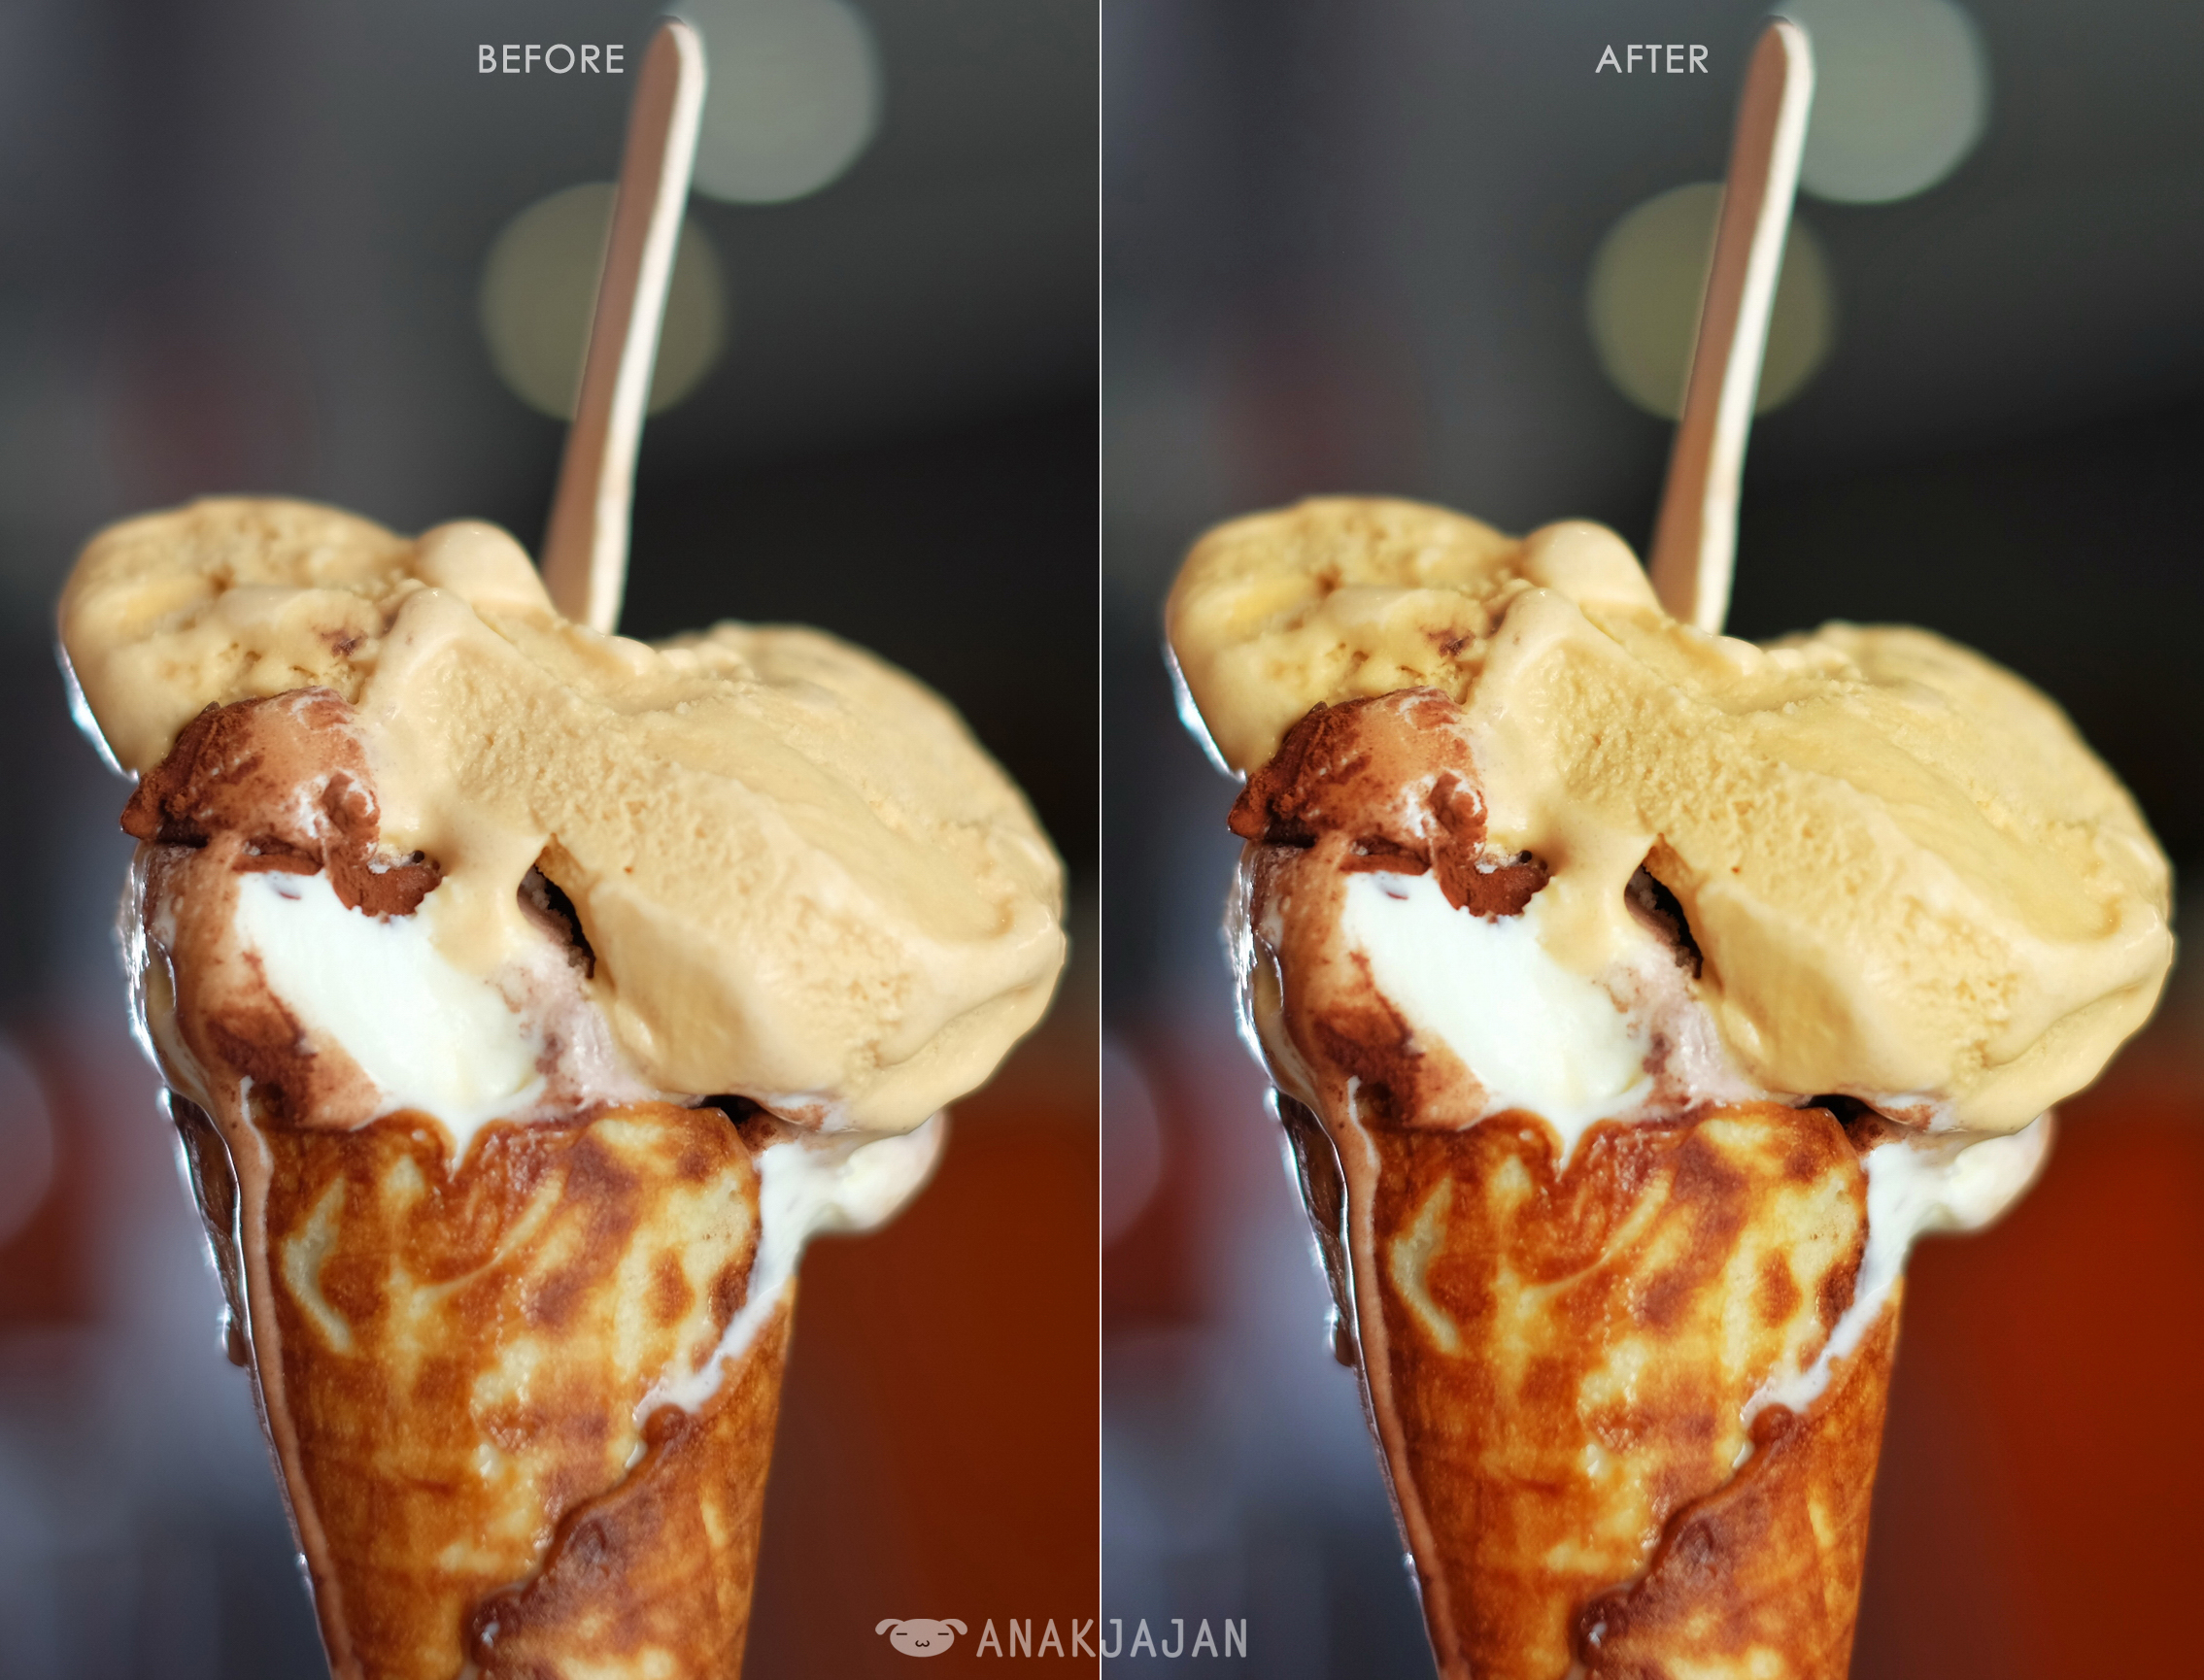
2. SELECTIVE ADJUSTMENT
This is a very helpful feature to adjust Brightness, Contrast and Saturation just in a small part of your photo to create thoroughly desired enhancement result. For example in the photo below, the left bottom side is too dark that’s why I use the Selective Adjustment to adjust the brightness only on the left bottom area.


3. ROTATE/STRAIGHTEN
Besides rotating your photo at 90 or 180 degrees, you can also straighten and adjust your photo and it will automatically produced nicely squared photo with desired slant.


4. CROP
Simple crop featured with many aspect ratio choices.

5. DETAIL
Sharpen to enhance the sharpness of your photo and Structure to enhance the details and textured of your photo.

6. CENTER FOCUS
This is a very useful featured to draw attention and focus on a specific subject of your photo simply by blurring the surrounding area of the subject. You can adjust the blur radius and strength also brightness on the outer and inner of the blur area.


Well that’s all of the phone photo editing basic using Snapseed, if you have any question do not hesitate to leave comments.
We mostly use Snapseed to create bright and clear photos on our instagram while VSCO to produce photo with more vintage/ fade effect or tone. Besides the filters, you can also adjust many things with VSCO app, let us know if you are interested in reading another post about phone editing via VSCO. Thank you for reading, hopefully these tips can be helpful for you 🙂
Follow @AnakJajan for latest update:
A N A K J A J A N
INSTAGRAM | TWITTER | FACEBOOK
Don’t forget to subscribe/ follow our blog so you can get an update on your email everytime we posted a new post.


Might I know the application that you use for watermarking your pictures? Is it PhotoMarks? Or Photoshop? Thanks in advance, Ci Julia. 🙂
I used photoshop to watermark my photo 🙂
im interested in reading another post about phone editing via VSCO
Hello anakjajan ! actually i always dreaming to have a great food shoots like you do.. every time I always try to get a best shoot and edit it with VSCO.
but why after I edit it, and post it on instagram, the photo will go crack, a bit unfocus,blurry and turn out differently from what I’ve edited 😦
pls help 😦 another VSCO photo edit tutorial might be great 🙂
thank youuu ~
Yes sometimes I also experienced that kind of problem especially when I edit my photo using vsco from my iphone but no problem with snapseed. About ur vsco, have u tried updating it?
Thank you for ur feedback, I’ll write another post about vsco next time 🙂
Haloo anak jajan! Im interested if you post about photo edit via VSCO. Becaause i already use it. Thankyou 🙂
I always use snapspeed to give simple effects easily. I think it is really a great app for image editing.
I am so much impressed by your guide. It’s really outstanding. Wonderful explanation. I personally love taking photos and posting them online. With SNAPSEED, you get just that. This photo editing app was perfect for touching up my photos. This was able to take basic photos and make them look almost professional.
Thanks a lot for sharing such a valuable guide.
You’re most welcome 🙂